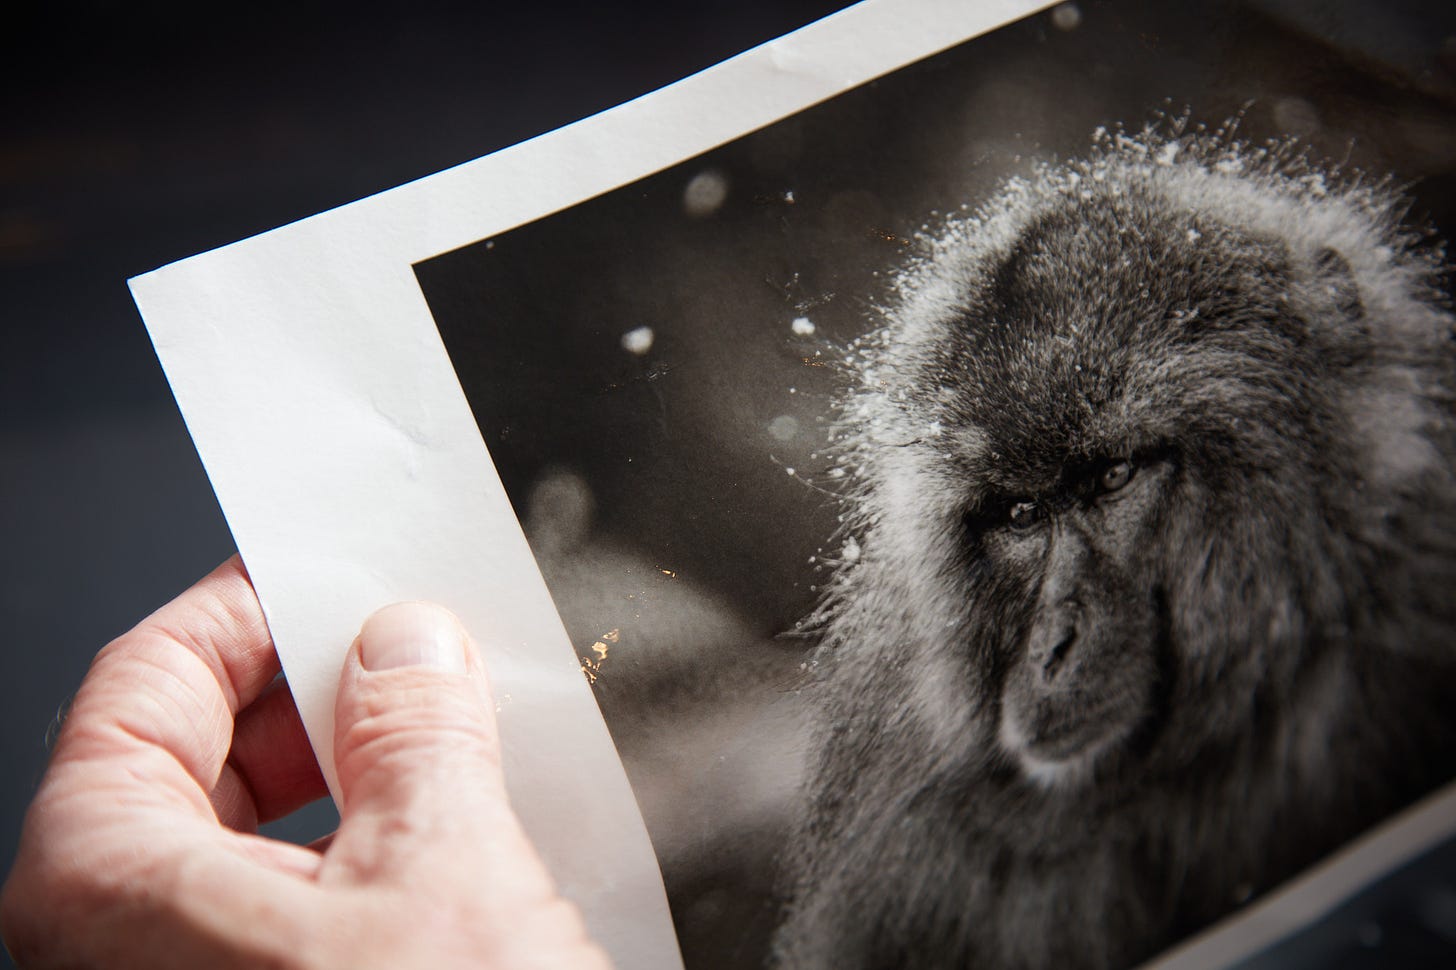
There are countless ways to ruin a fine art print when handling prints. I’ve ruined more than I care to remember by scratching them in the process of cutting them to size, dropping a large print and creasing it, ham-fisted handling while attempting to mount them on backing board, getting a drop of coffee on them, you name it, I’ve done it. I’ve made many costly mistakes. I urge all of you to handle prints with the utmost care.
Take a wild guess what doesn’t ruin a print; Full submersion in water. That’s correct, you can soak a print made on fine art paper with an inkjet printer and it will be totally fine. This deserves a few qualifiers but not many. The first qualifier is that you’re using a pigment printer rather than a dye-based printer. If you don’t know what kind of ink your printer uses, find out. For the most part, large “professional photo” printers will be using pigment-based inks but there are a few exceptions within the 13” class of printers. The other qualifier is how strong the paper being immersed is when wet.
A perfect example I’m familiar with is the Canon Pro-200 vs. the Canon Pro-300. They are virtually identical except for the price and the type of ink each uses. The Pro-200 uses dye-based ink and is less costly, the Pro-300 uses pigment-based ink and is a few hundred dollars more expensive.
An Explanation Of The Illustration Above
Over the last couple of weeks, we’ve been fully exploring the properties of a few papers as well as a bunch of creative mounting ideas to bring out their unique properties. Two of the papers we’ve been getting to know are Awagami’s peel-apart papers. I briefly mentioned these earlier this month.
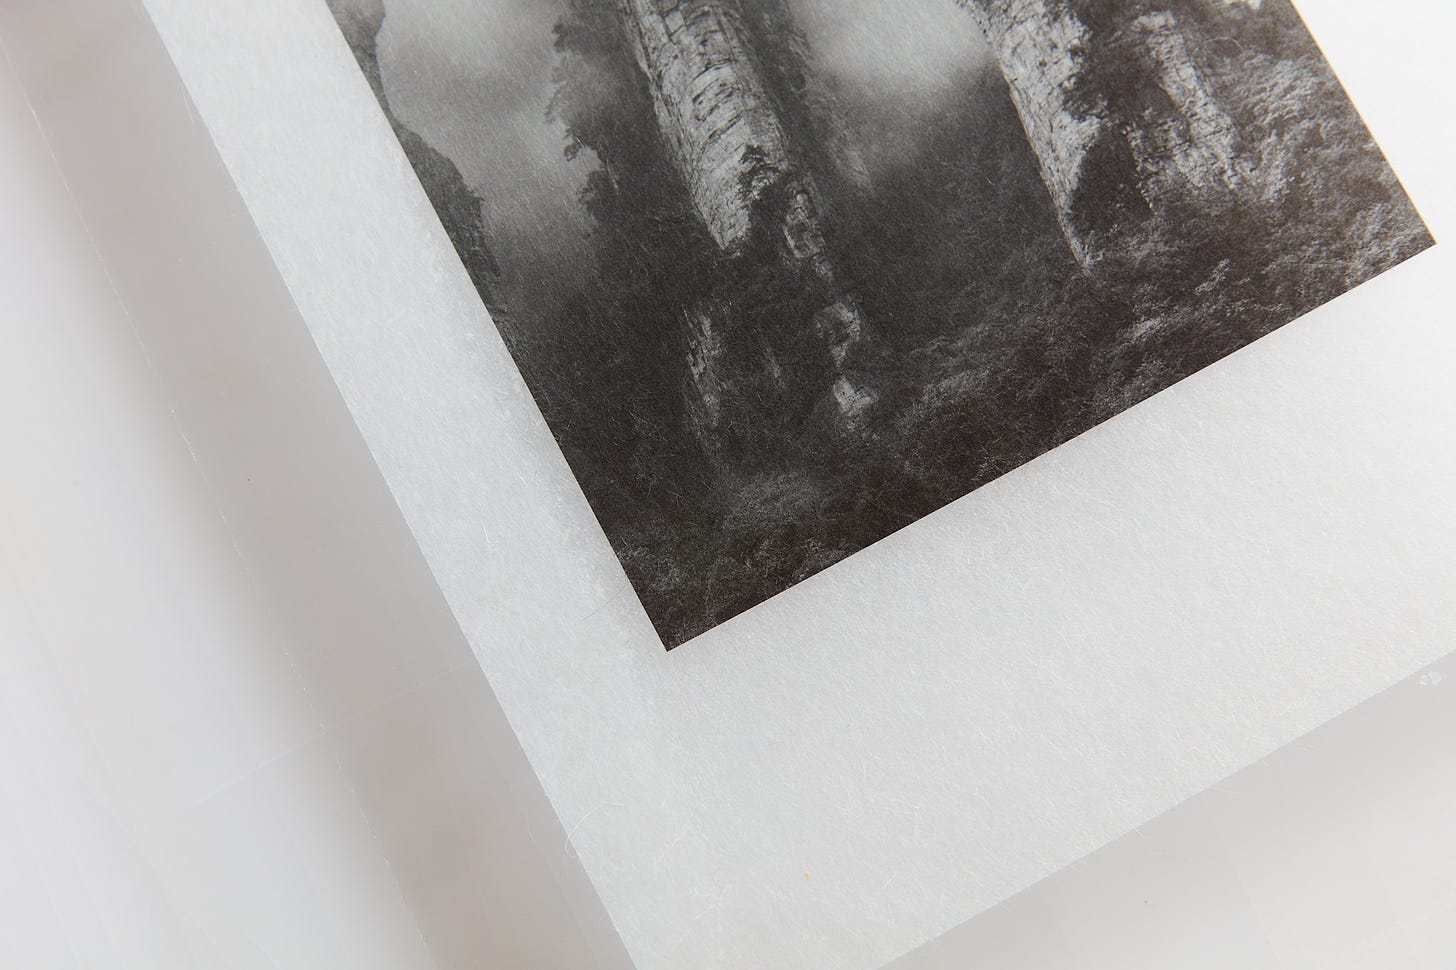
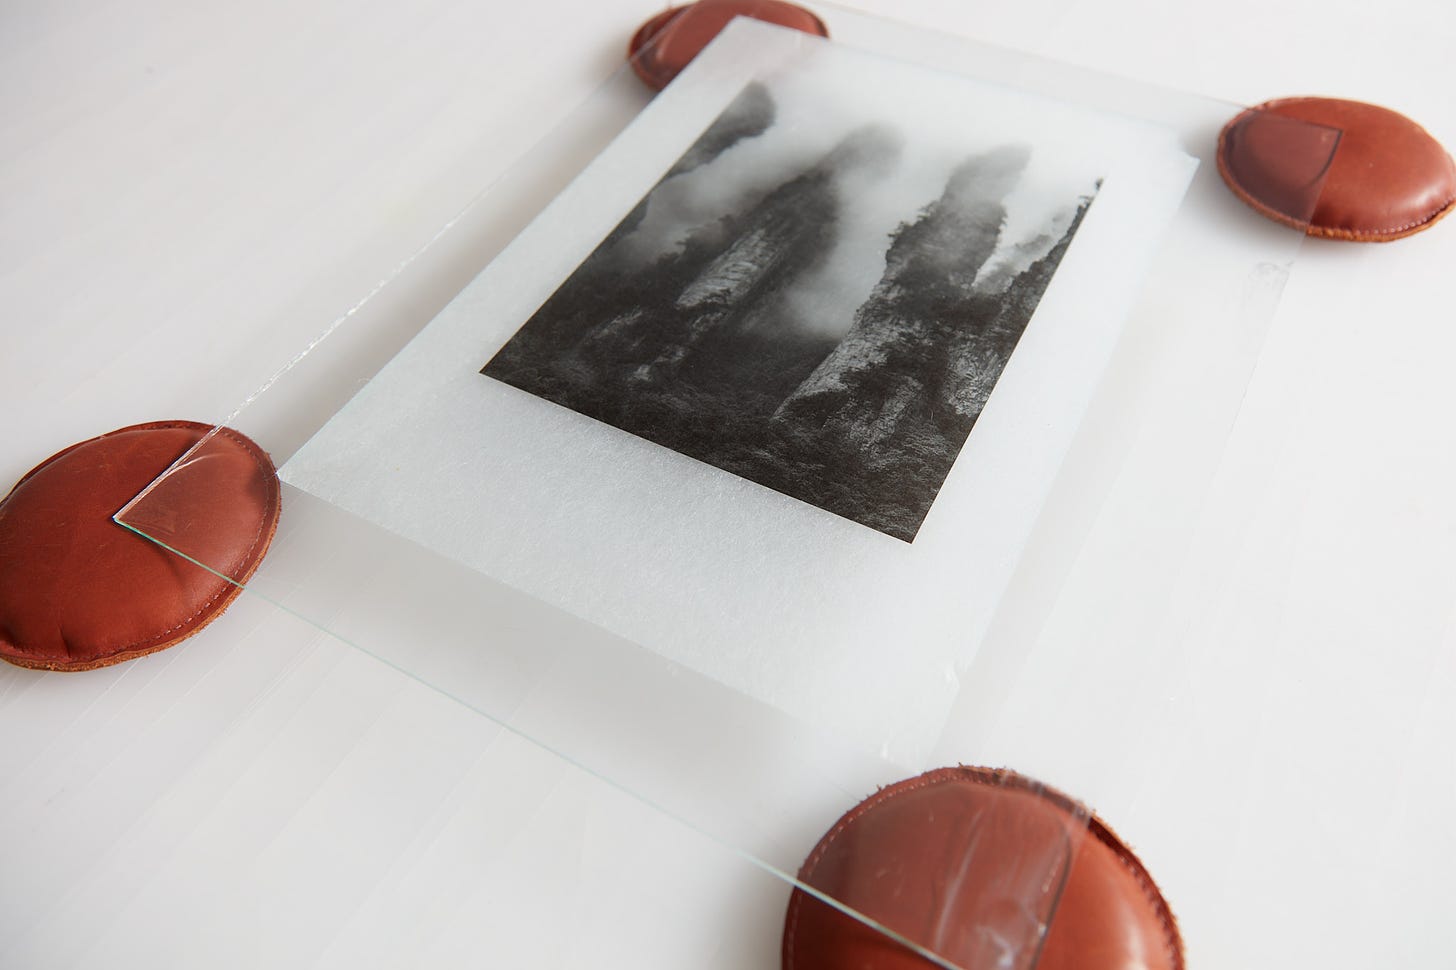
Above is the top layer of Awagami Kozo Double-Layered that’s been peeled apart after printing. It was then aggressively crumpled up into a tiny ball. We then soaked it in a tub of water and flattened it on a completely smooth surface.
You are looking at the smooth surface in the form of an old piece of glass we pirated from a picture frame. The glass and print on top of it are raised off the table about an inch. Note the few small tears and damaged corners in the wider view. Those happened while pulling the paper apart rather than as a result of submersion and flattening. We ran into a few problems with our first attempt at peeling the Kozo Double-Layered apart. The second attempt produced a perfect print.

What shocked us was that there is no trace of any creases we purposely put into this very thin sheet before submerging it. This illustration is not completely dry but the result when completely dry looks even more perfect. No trace of wrinkles or creases and perfectly flat. We’ll have a lot more to say about these thin papers over the coming weeks and months. We’ll also have a lot to say about mounting techniques that highlight the unique properties of this paper in our upcoming “how-to” series.
You may be asking yourself; What about more conventional papers, how do they hold up? We did the same thing to a sheet of Moab Entrada Natural 190. When it comes to full submersion, they are fine. The only difference we detected after fully soaking them was that the surface texture may have changed subtly. The same was not at all true comparing wrinkling and creasing. The wrinkles we make were still visible even when flattened. Without any laboratory analysis, this probably has to do with the thickness, inherent strength, and flexibility of the Kozo fibers compared to the cotton fibers of the Entrada.

All of the Awagami thin varieties are unique in their translucency allowing one to see the interior fiber properties while sharing their thicker siblings' surface texture. What’s interesting is that those thin papers are less expensive than their thicker counterparts. The exception is the peel-able varieties, namely Awagami Kozo Double-Layered and Mitsumata Double-Layered. Both of these are more expensive than their thicker versions but designed to produce the thinnest final print after peeling the printed top layer away from its base.
Stay tuned, we have a lot more coming on the various properties of these unique thin papers from Awagami, how they compare to the thick versions, how to make choices among them, and how to display them in creative ways.


I’ve tried the double layered kozo and despite watching a few videos had a devil of a time separating the layers and never really got à flat print off. Your post suggests that if I’m successful in at least getting it apart, I could simply soak it to get smooth again. Does it soak off the backing sheet? Never tried it. Also, I tried the paper experimenting with translucency to allow silver leaf to shine through, but even at its very light weight, the kozo sheet is still quite opaque. Experimenting with various ways to permanently increase translucency in an archival manner. Difficult… Thanks for thé posts!
Please explain why you would want to immerse a print in water?