Yes, We Screw Up, Too!
There was no fixing this, we tried.
"Oh, it must feel great to print professionally, knowing your equipment and papers so well and not having to worry about making costly mistakes."
You have no idea how often we hear this. But it's simply not true. I mean we do love the printed image and we do our best in our studio to achieve that perfect print. But, we do screw up, too.
One incident happened this past week that I'll share with you. If nothing else it helps to explain why a stable workflow helps, from image capture to a finished, framed print.
A few weeks ago I sold one of my large format prints to a fellow photographer whose wife wanted it for their home. Two days later, I got an email from them saying that there was something "wrong" with the print that they didn't notice at purchase. Nor did I.
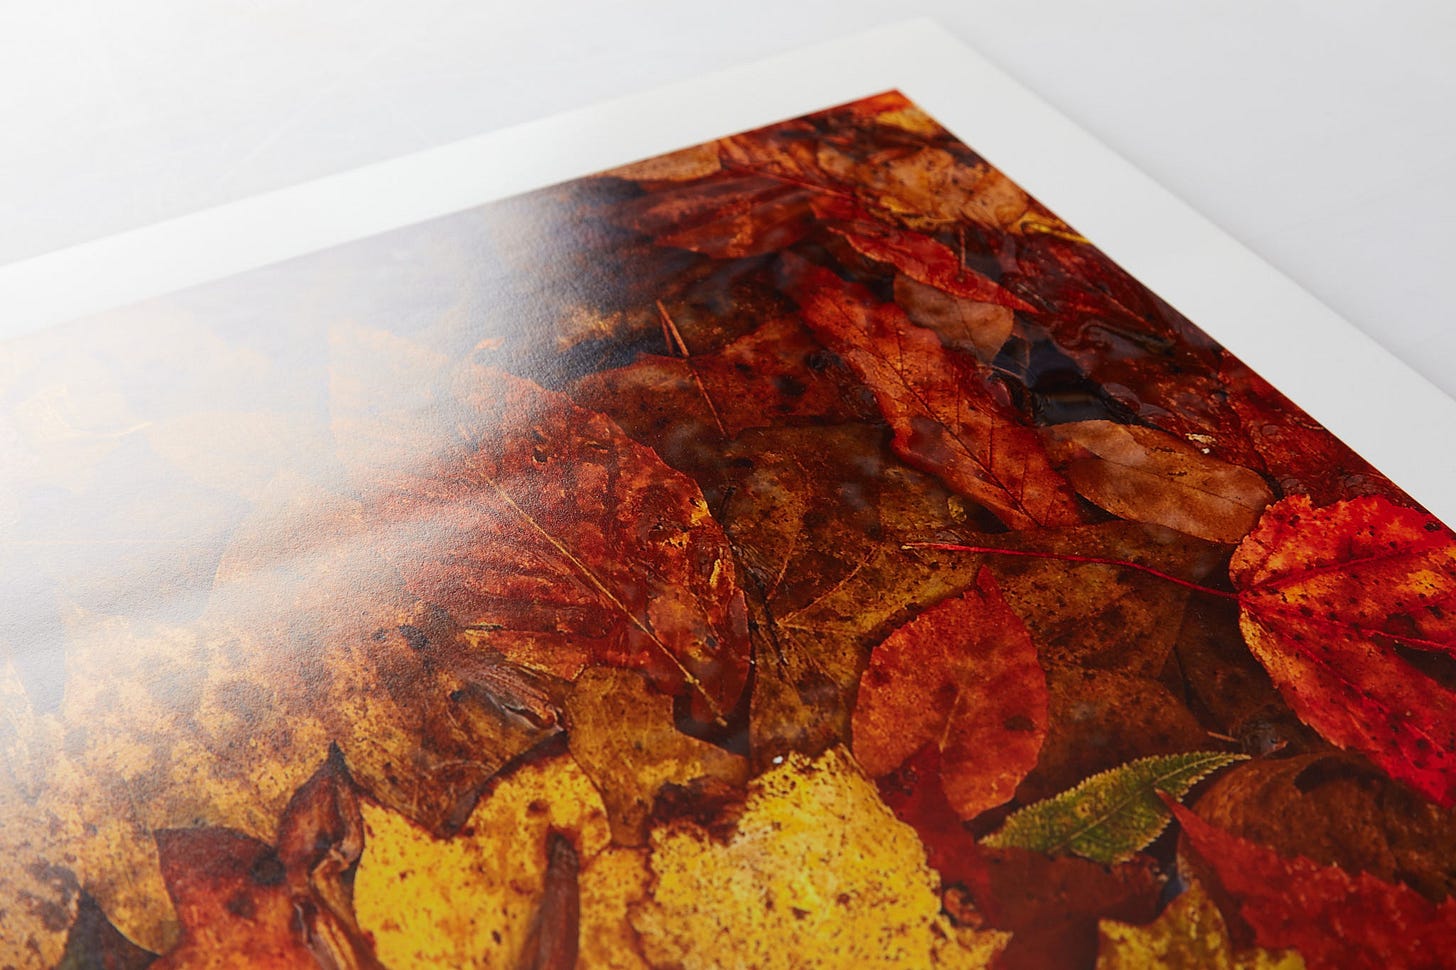
There were two vertical indentations in the print, each one the same distance from the outer edges. Viewed straight on they were not noticeable at all. Add a bit of window sidelight and they stood out unmistakably.
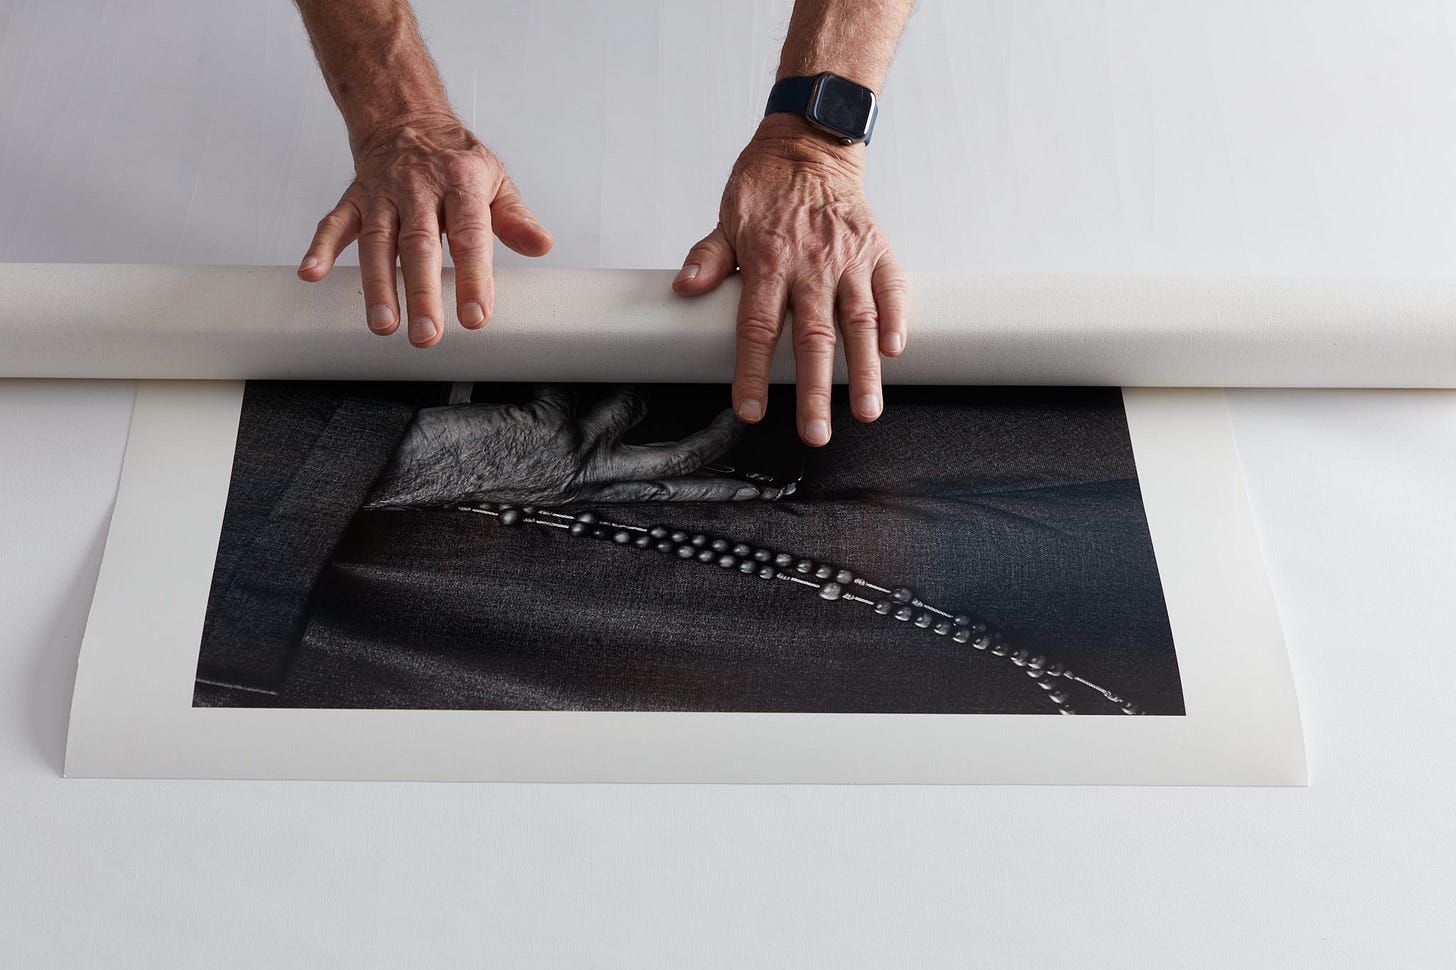
Fortunately for me, my colleague buyer is a retired engineer and astute problem solver. I couldn't figure out what had caused this. It was a first for our studio. After lots of discussion and going through my framing workflow my colleague suggested that it may have come from my home-made reverse curl device, a simple tool that we use all the time to straighten curled prints before framing. I have a video that explains how to construct one and how it all works.
I almost always roll the tube a few turns first, before positioning the curled print. That buffers the ridge caused by the taped edge and I've never had a problem. However, in this particular case, I had not rolled the device enough to moderate the effect of the line of tape that adheres the material to the solid tube. That explained one of the indentations. But what about the second one? And how did it lay exactly the same distance from the opposite edge?
Well, when I reverse curl a print I start on one side and, after it's almost flat, I turn the print around 180 degrees and reverse roll it again, just to finish the job. In this case I repeated the incorrect positioning and managed to introduce another identical indentation.
Granted this has only ever happened once. But that error caused me to have to first try to flatten the indentations in our dry press. That did not help. Next I had to tear apart the entire frame, remove the damaged print, reprint it and reframe it. I sure did not want this to ever happen again.
So with my colleague's help (thanks, Carl!) we tried different approaches to modifying the reverse curl device. After three different approaches we finally came up with this. I simply used a special glue (Jade 711, sold by talasonline.com) to adhere the material to the tube. It works!
Now my device has no protruding tape that might cause a print indentation. Lesson learned. And for those of you watching that video, the principal remains valid, so either make sure you roll the device a few times before positioning your print or else use my newer gluing method to construct your reverse-curl device. (I do plan to add a note to the video indicating the suggested modification.
If you like what we do, consider helping to keep the lights on with a paid subscription. Thank you to those who’ve already been so generous!!!


Easier and free, use a roll of background paper for this!
Hi Dominique. As Bob said, our reverse roller is basically the inner cardboard core of 44" roll paper. A 2" or 3" section of PVC will work as well. It's just easier to maneuver if the sheet that envelopes the print is glued or otherwise affixed to the core. Just make sure there is nothing sticking out that will leave an impression on the print.