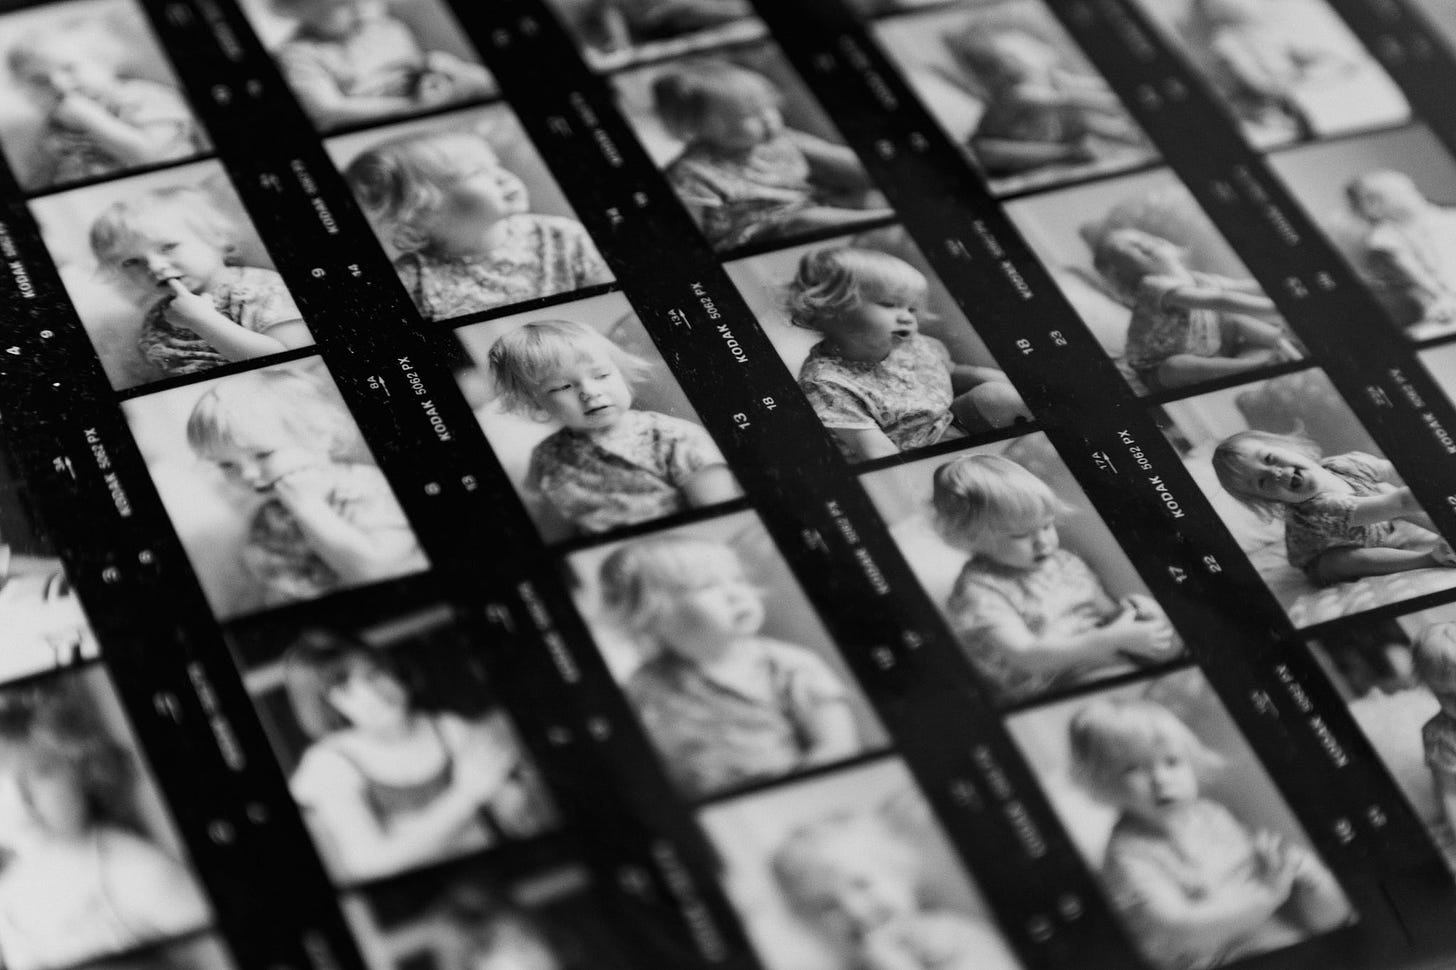
I wonder how many of you remember contact sheets. A single 8in x 10in (or later 8.5in x 11in) black and white print showing everything contained on a roll of film. An enduring print evidencing every frame produced by your camera. I still have every contact sheet I printed myself. In fact, I stopped using Ilford HP5+ 35mm film completely when they decided to put a barcode on the negative edges. I loved my contact sheets so much I couldn’t stand that ugly barcode polluting the aesthetic.
You can probably imagine given my extreme reaction to Ilford’s ugly barcode that for quite some time I was enamored with the idea of every frame being good. I didn’t want to spoil the contact sheet with a bad shot or worse… a blank shot, a misfire. Yes, I was that tightly wound I wanted every shutter press to produce a frame ”worthy” of its exalted place on each and every contact sheet.
I don’t know why but I’ve always been enamored with the look of contact sheets. I love the black background of fully exposed max-black paper with every shot shining like a little bright jewel together, in sequence. I love other photographers’s contact sheets just as much, especially those that contain famous, iconic pictures. It’s mesmerizing to see that one shot in the context of everything else on the roll.
You can get a copy of some of those for your collection from Magnum. They’re a little pricey but you can also get a book that I highly recommend.
A mini-project to detox from spray-and-pray framerates
In the same thought process as some detox ideas a few weeks ago, What could be a smaller project than limiting yourself to 36 frames, or 16, or 12, or even 10 as if you were shooint 35mm film or one of the various 120 medium format rolls. Here’s some ideas:
Decide on the number of frames on your “roll” and stick to that. Resist the temptation to increase it.
Don’t cheat! Every shutter press is on the contact sheet. Yes, even if you must make a picture of something that doesn’t “fit”.
Spend zero effort and time on post-processing them. Use the Adobe or Capture one profile that matches one of your in-camera jpeg settings. If you don’t like that use one adjustment preset on all of the frames. Don’t fix exposure or white balance. Get it “right” in the camera, or get it wrong. Either way, leave it be for the contact sheet.
Don’t take too long to finish the “roll”. One day works, one outing, maybe even a week. Beyond that is a “real project”.
Don’t have an idea? Fine, just make pictures and see what happens.
Let the first frame determine the “theme”. I’ll bet there will be a dozen themes you could extract from that first theme. Suject matter, color, whatever. Experiment. You don’t have to finish the roll in one outing, especially if you have a great idea based on that first or second frame.
When the “roll” is done, make a real print of the “contact sheet”. Hang it up on the wall where you work on your photos.
Make more, and more of these until you have a collection. Do one a week, one a month, whatever you’re comfortable with but don’t work on other things in terms of shooting pictures until you finish the roll you’ve started.
I realize this is a variation on those 360 projects or 52 week projects. It has a twist of making something that looks like a contact sheet in real physical form. All of those types of projects have a purpose and if you’ve never tried it I think this will provide the same, maybe even more benefits without taking a year. I’ll bet you’ll have a dozen real projects you want to explore after a short while of making these. You may even have a completed project or close to it lurking in a combination of these fake contact sheets. Make every frame count but definitely include those mistakes.
Digital contact sheets are easy

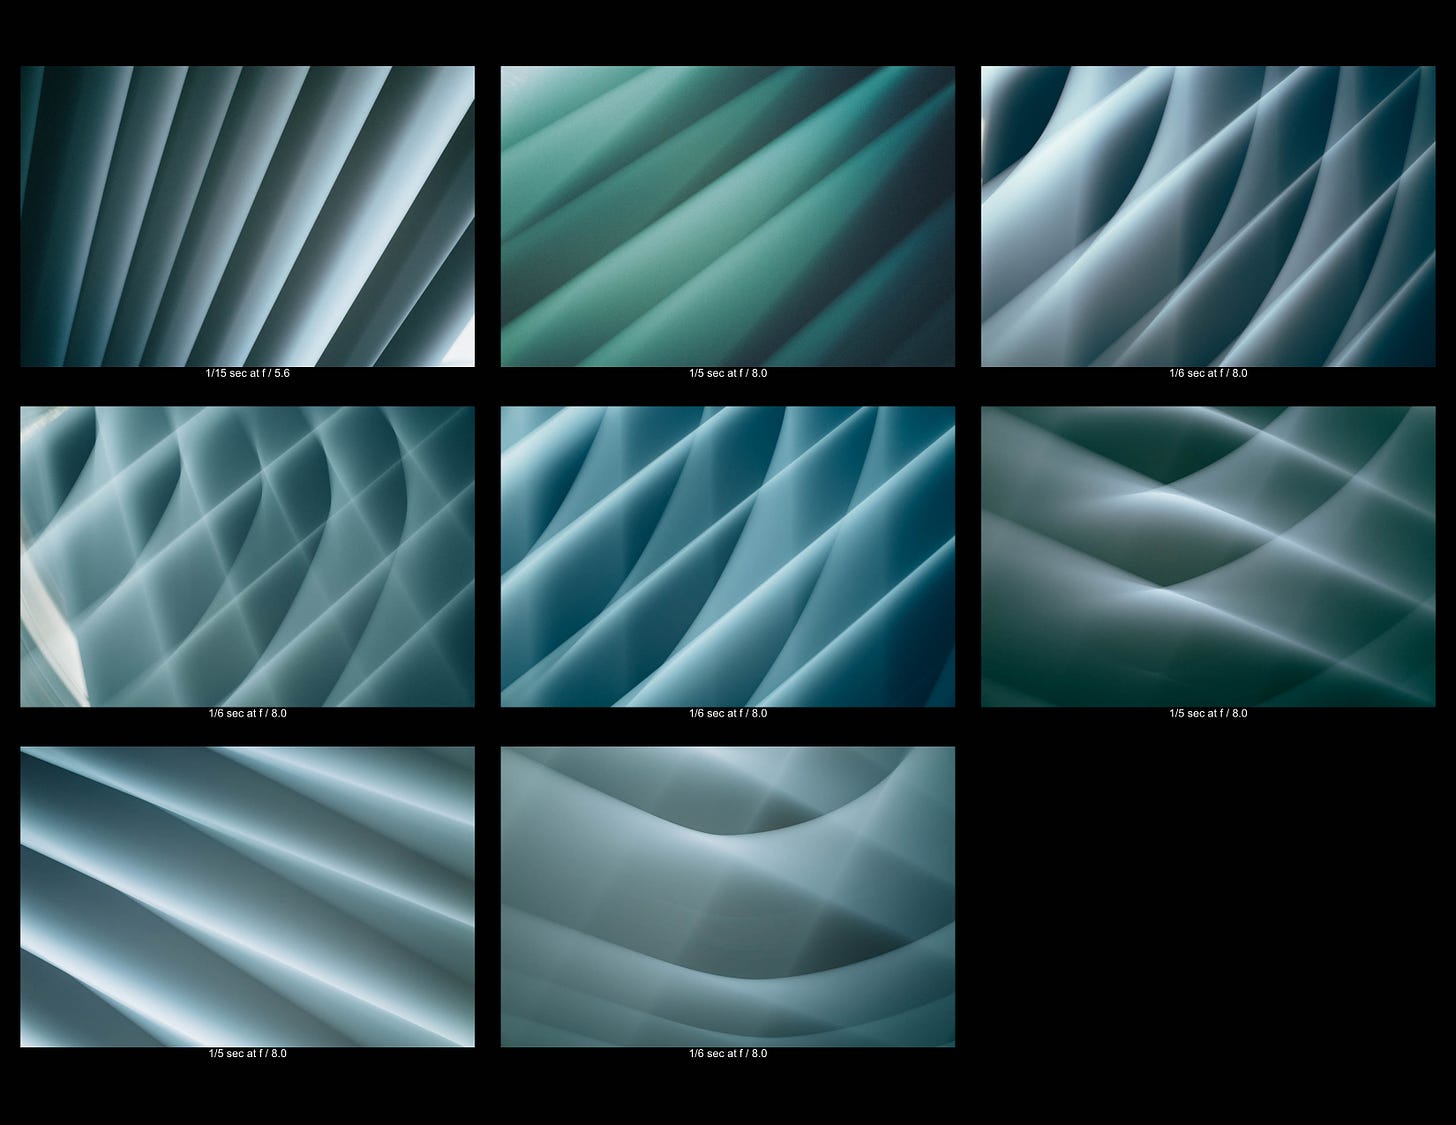
Most of you probably own the tools to make your contact sheets. Adobe Lightroom’s print module has several baked-in “contact sheet” templates. Make your own and try to keep it realistic to the format and roll count you were pretending to shoot.
In Lightroom’s print module, this is extremely easy. All of the frames should be the same orientation even if that’s wrong. The spacing between frames and rows of frames should be somewhat even. The size of the frame should be accurate. All the space in between is frame spacing on the film or film borders.
Above I imagined using a Texas Leica also known as the infamous Fuji GW690 6cm x 9cm medium format camera. As you can surmise from the frame dimensions it fits 8 shots on a 120 format roll looking like gigantic 35mm 3:2 negatives. Photoshop, Bridge, and other tools have similar capabilities. Lightroom even has the black background option right in the righthand panel.
If there’s any interest I’ll write up a walk-through in a few different image processing/printing tools and give you explicit recipes for the Lightroom print module for a few popular film formats.


I miss them. I miss my darkroom.
Great project! Nothing better than when the contact sheet comes out of the developing tray. Even the digital development tray!