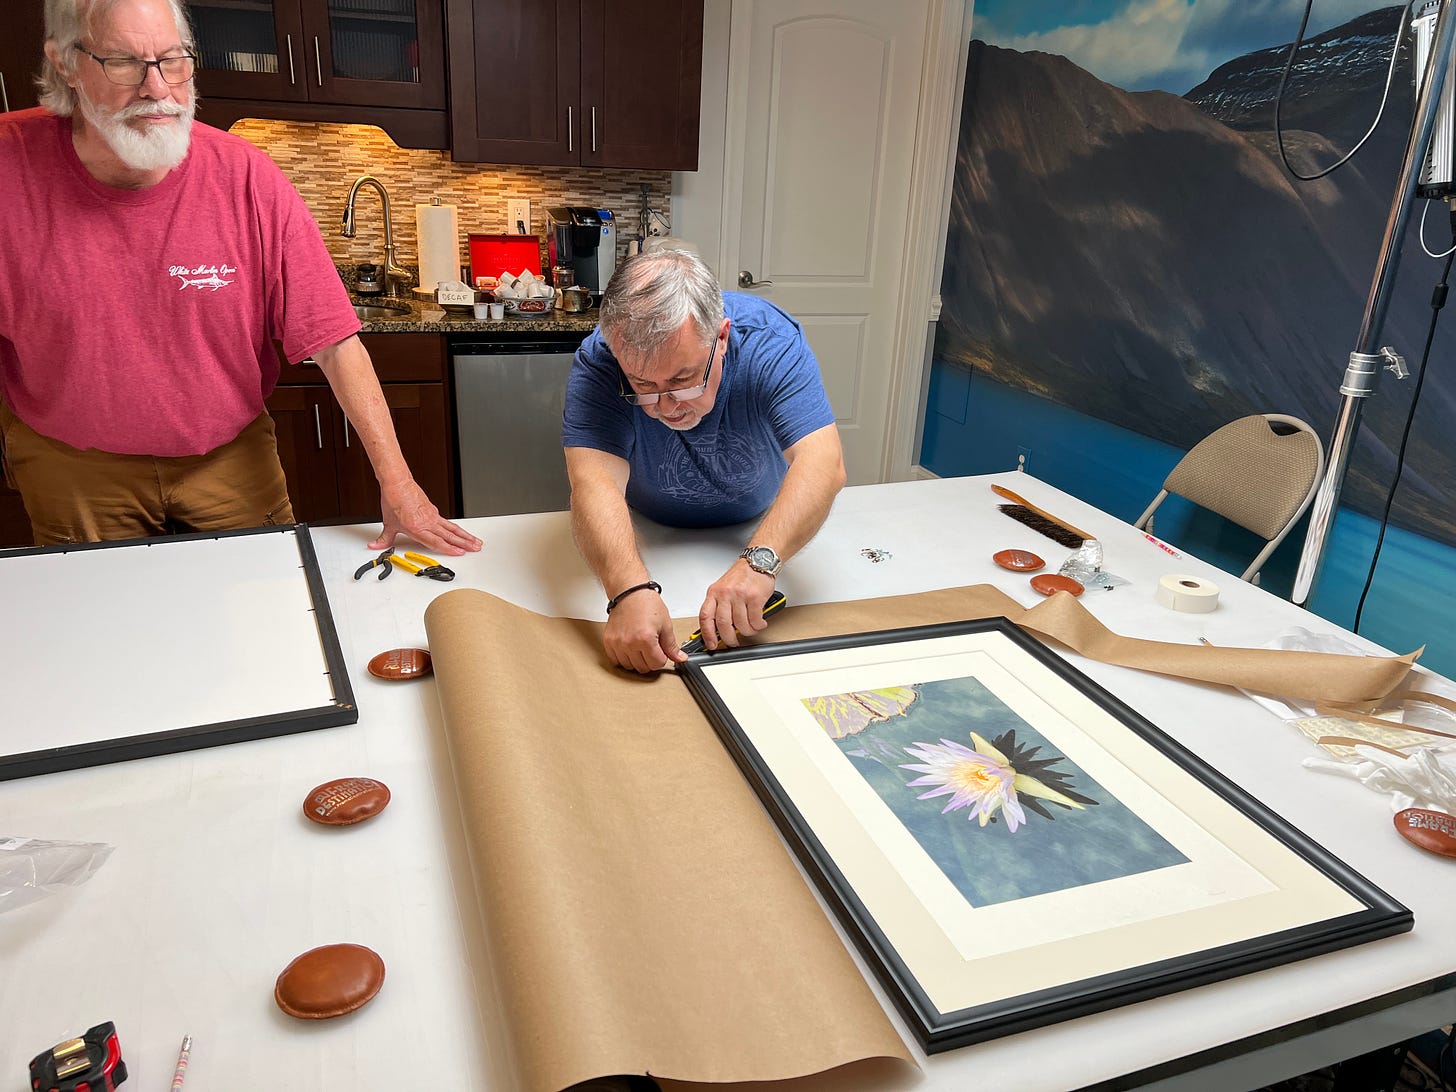
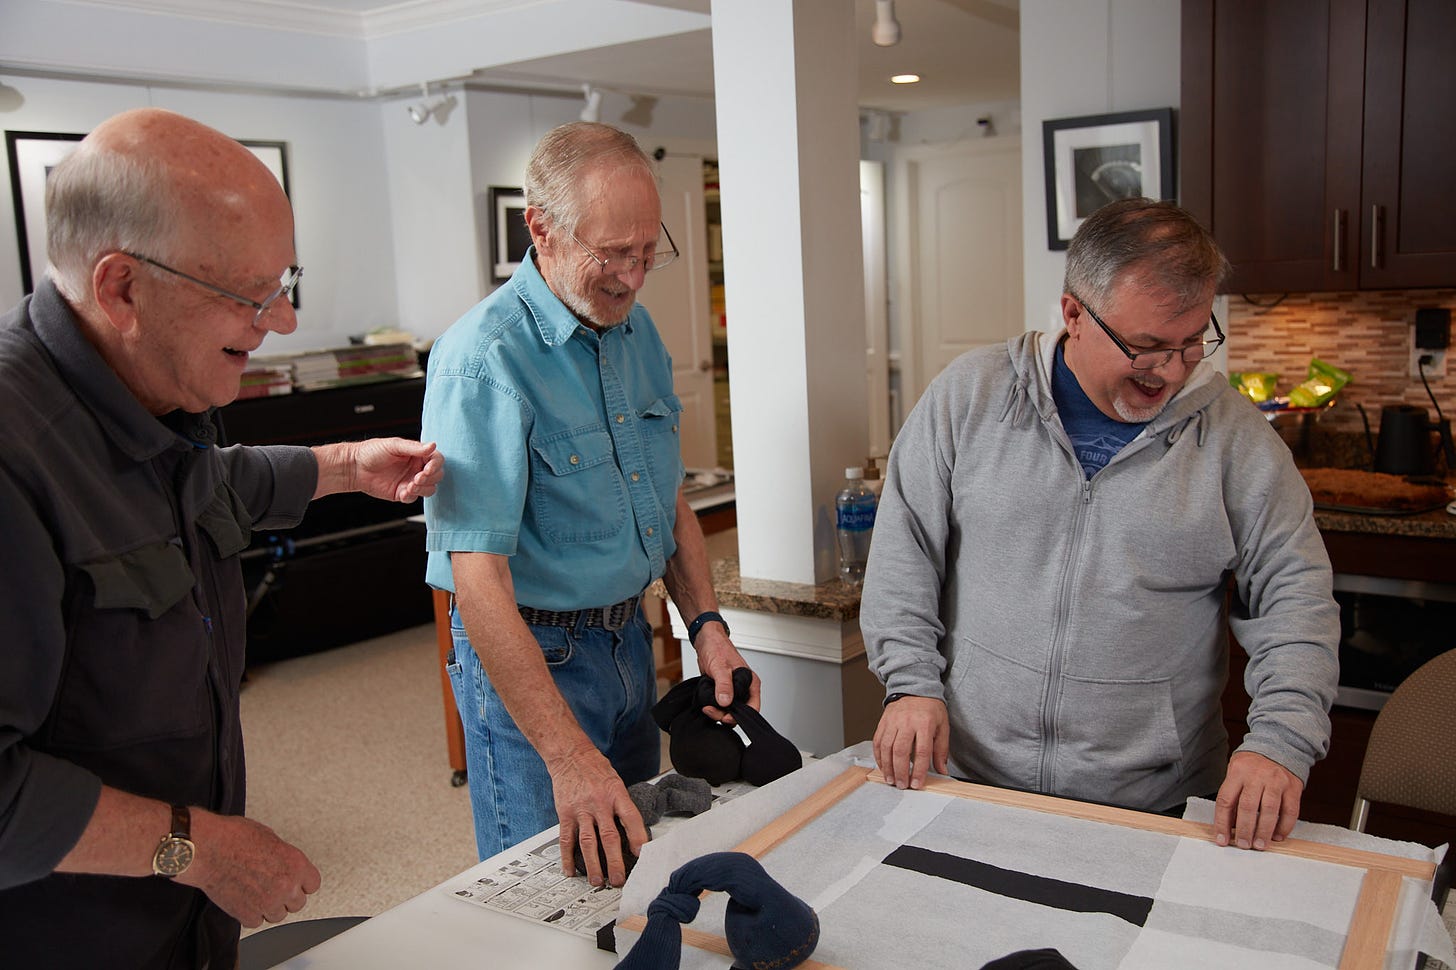
It was a long weekend, but Bob and I are so pleased that we completed our first Advanced Awagami workshop. Our participants left with two open-framed large format prints of their own images on incredible Awagami washi papers. We both love workshops where participants leave with final, finished, artwork. As our business has evolved so have our workshops, providing more hands-on working toward a physical finished piece of art.
For those of you scratching your heads, Awagami is an 8th generation Japanese paper maker. Japanese papers are appropriately known as washi papers, since washi means Japanese paper. Moving on from the linguistic lesson, washi papers are mostly hand-made, and Awagami is one of the premier craftspeople of this magnificent art.
Several years ago, Awagami launched a series of ink-jet compatible papers, coated to allow inks to be applied. We've been devotees of these magnificent papers for over a decade. Most of the inkjet line is machine made, but some of the papers are still handmade (i.e.: Bizan).
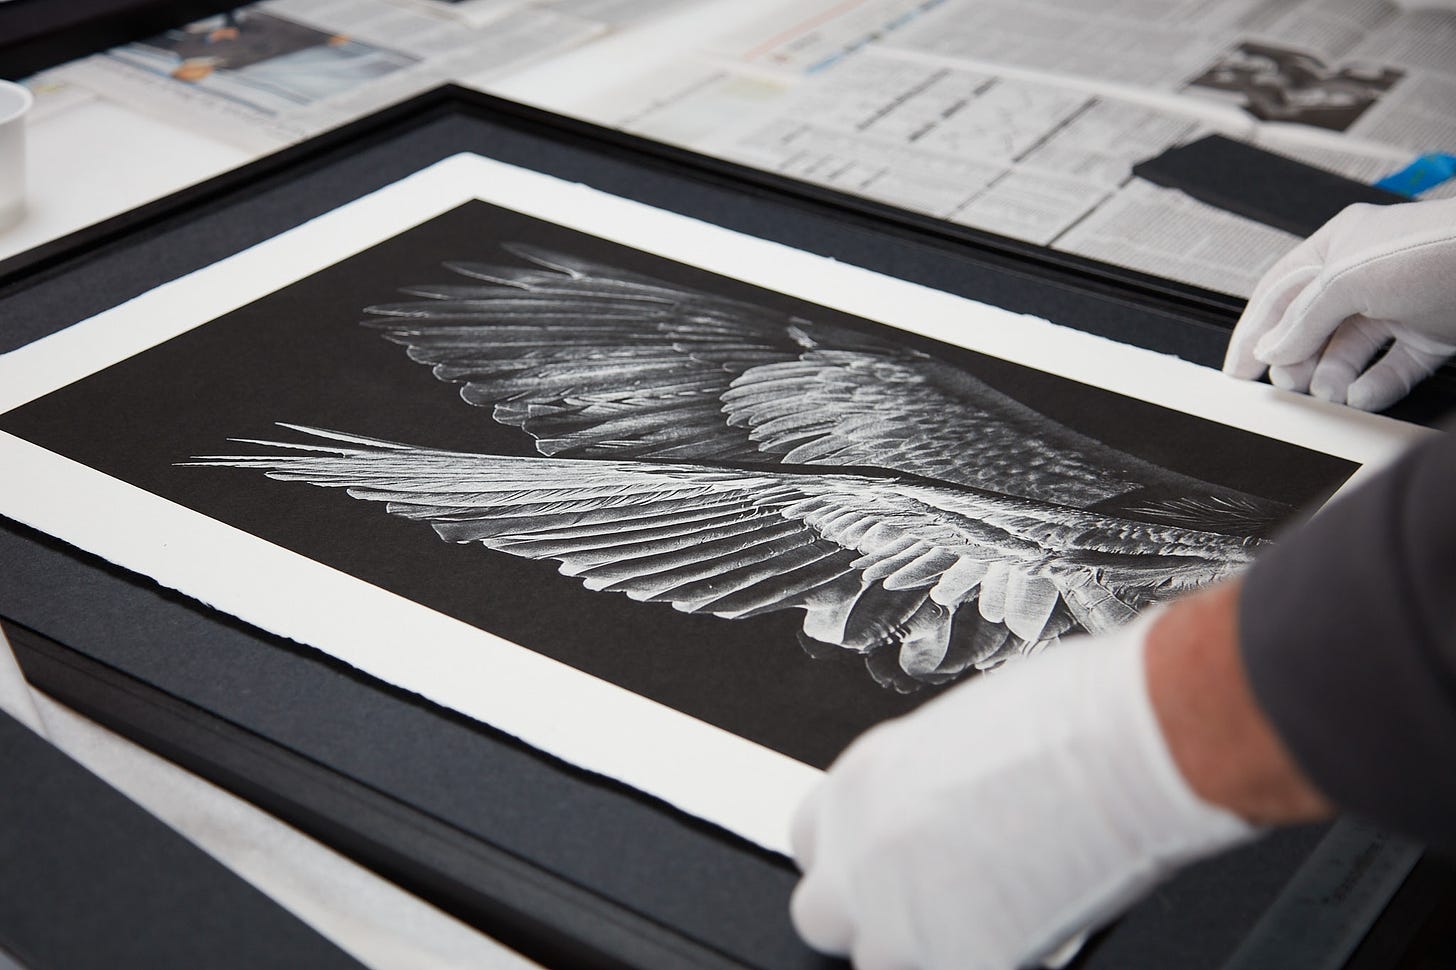
The papers themselves are remarkable, very different from the western papers that we're all used to. We urge those of you contemplating or already using washi papers to allow the paper itself to complement and accent your art. We tend to print with wide borders on Awagami to accentuate the paper. Of course the catch here is matching your image to the right paper, something we explore in depth with our workshop participants. As an example, some of the Awagami papers have a lower Dmax, so you wouldn't want to pair those papers with an image that you want a lot of "pop". Another example is in the use of Unryu paper which has swirls of visible mulberry fibers that must have the "right" image paired with it. Bob has written about that in previous articles on using specialty papers.
Seeing your print on these hand-made papers with their inherent textures, tones and depth is a sight that will take you and your work to another level of expressiveness. Les and Bob then guide you to the penultimate step of framing and displaying your prized images. This is a process that will forever change how you assess your images…
— Ed Palazynski
Two tips to take away for those of you that use any papers for your work that have a lot of personality. First, leaving a lot of white space in the form of a border on the paper (even when matting is used) gives viewers visual context of paper texture, base tone, and other visible structural elements of that paper. The difference when looking at the same image with and without that context was a revelation to the participants.

The second take away is just how big a difference the dimensionality of the print and it's presentation was without glass in an open frame. This was true in the more traditional matted and mounted Unryu Premio as well as the more 3-d raised standoff used for the Bizan prints. The quality of the papers themselves are another reason we display them open-framed. Behind glass many of its unique and sometimes subtle characteristics are muted. Using museum quality, non-reflective (very expensive) glass helps.

Bob and I are developing other exciting Awagami washi paper workshops, including washi portfolios, hand-made books and more. We'd love to hear from those of you who have used Awagami in traditional as well as creative, out-of-the-box ways. As always stay tuned, we'll be detailing many of those endeavors in the upcoming months.


It's been awhile since this article was written. Hopefully you'll see this.
Are you coating the artwork with a varnish when not using glazing?
I'm using PremierArt Print Shield because that's what's available in Anchorage, and what the local graphic art/commercial print shops are using when making prints. Wilhelm likes it, but that doesn't mean there aren't better varnishes. I think some kind of varnish is important to provide scuff resistance. Blowing the dust off the print isn't adequate over the long term as some fine dust remains unless it's removed with physical contact. Or at least that's what is required in our house!
When I first started printing on handmade kinwashi 15 yrs ago, it took me 3 yrs to figure out the key elements presented in this post. Thank you for the clarity. Once printed correctly presentation becomes an essential element.