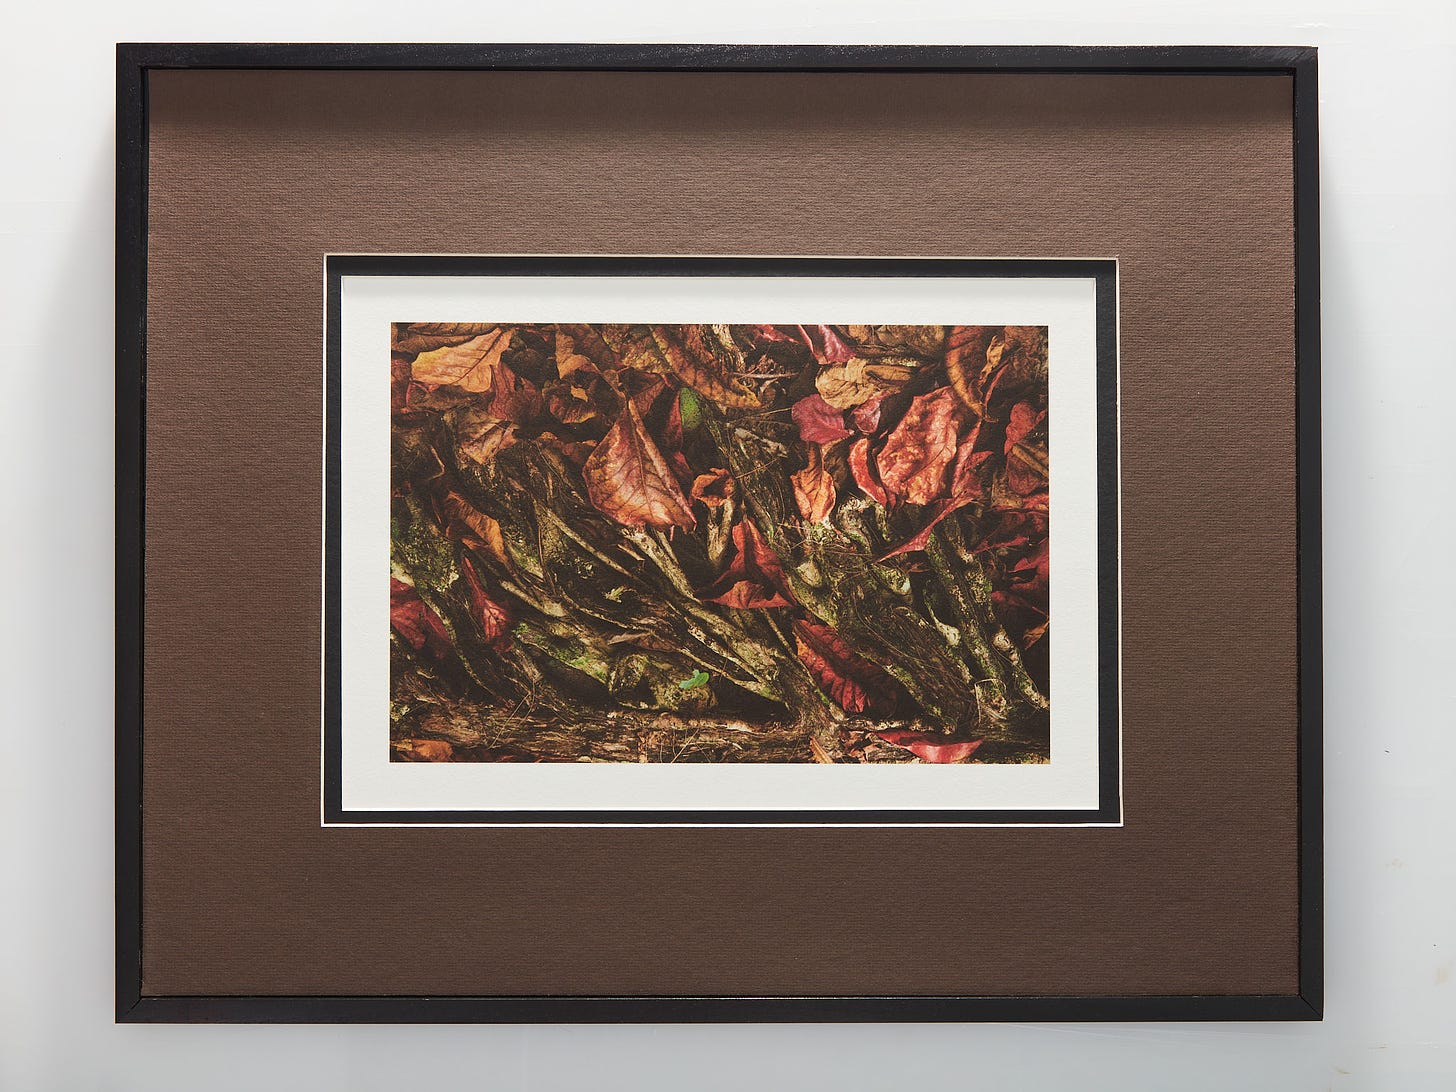
In my last newsletter on Awagami papers, I discussed how we went about testing two different Awagami papers to learn more about how they rendered a specific image that I wanted to display.
We ended up using the Premio Kozo White paper for the way it gave me a more naturalistic feel. It did not smack of a digital reproduction at all. The earth colors were true, the Dmax acceptable, and the tonality excellent.
Now it was time to frame the print. Here are the specifics for those of you who do your own framing.
First, I'll say here that framing is a craft of its own. I suggest that if you are interested in learning it, you take a workshop where you will learn tips and techniques from experienced craftsmen that will save you time and money in the long run.
That brings me to point #2.You can do your own framing for half the cost of a frame shop. But, understand that results will vary depending on your skill level and experience. Few things can ruin a print display more than a bad frame.
The Details
I printed the image on A3+ paper (13 x 19 inches) with 1.5" borders all around. I cut a double mat with a 1/4" recess for the top mat. As for mats, we only use Rising mats in our studio for their archival characteristics and their overall quality. However, in this case I was rushed by the holidays and did not have the correct color Rising mat in the studio at the time, so I used another brand for the brown mat, since it was not in contact with the print.
I used a black Rising matboard first to stop the viewer's eye. Then I laid the earth-color brown mat on top of it. I cut the frame to size (22 x 27 inches). I cut the outer brown mat to 4 inch borders and the inner black Rising mat 1/4 inch longer on each side.
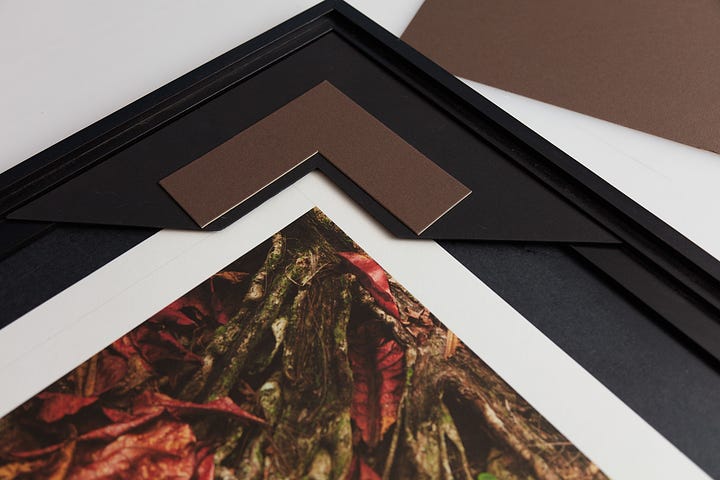
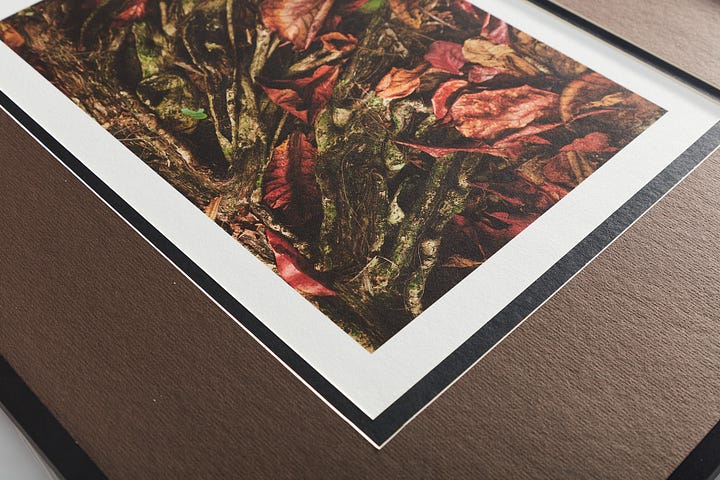
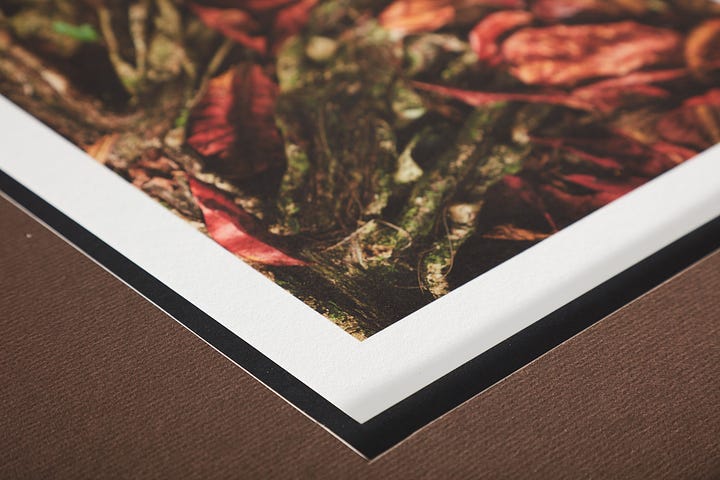
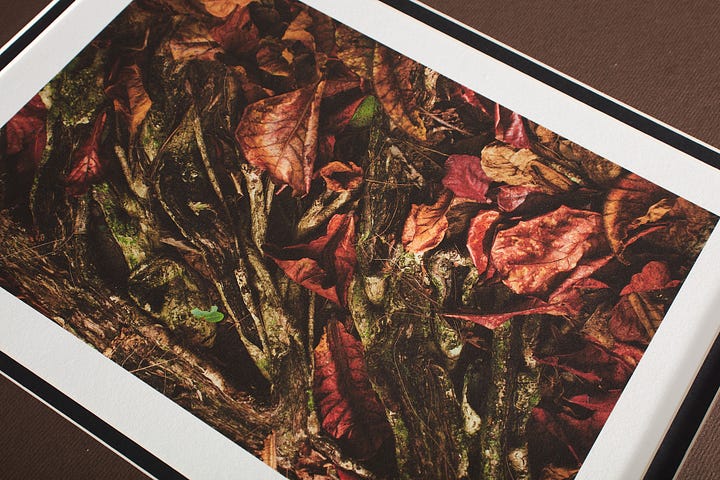
We have a general rule in our studio to showcase Awagami papers in open frames. We feel that the beautiful papers themselves are part of the overall aesthetic. So in this case I had to make a difficult choice. How would the mats stay flat, tight and would not buckle in the frame with no glazing in front? I experimented (we do a lot of this in our studio, trying new methods and perfecting standard ones). I ended up using an acid-free, archival glue (called "Yes! Paste")to adhere the mats to each other and then adhere the layers to the backing board. All this had to be done without any adhesive touching the print.
The print itself is hinge-mounted using linen strips, so the print can be removed undamaged if a patron wishes to reframe it at a future point.
If you would like more newsletters on the art of displays, please leave a comment here. My personal approach to photographic art is that the print is not complete until it is properly displayed. In today's art market there are dozens of ways to display photographic art.
If you’re interested in Awagami papers you might want to attend our Introduction To Awagami Papers workshop coming up in March 2023. We’re also offering a two day Advanced Awagami Printing & Display workshop that walks you through selecting images, Awagami paper selection, all the way through mounting the final print.
If you enjoy these newsletters, please consider supporting our experimentation, tips and techniques by becoming a paid member.


The white surround is the border of the paper. Thanks for asking... I should have clarified that. With Awagami papers (and Moab, too), we tend to leave a border due to the quality of the paper.
Can you explain the process of gluing the mats to the board and then how would one be able to remove the print if the mats and backer board are glued together?