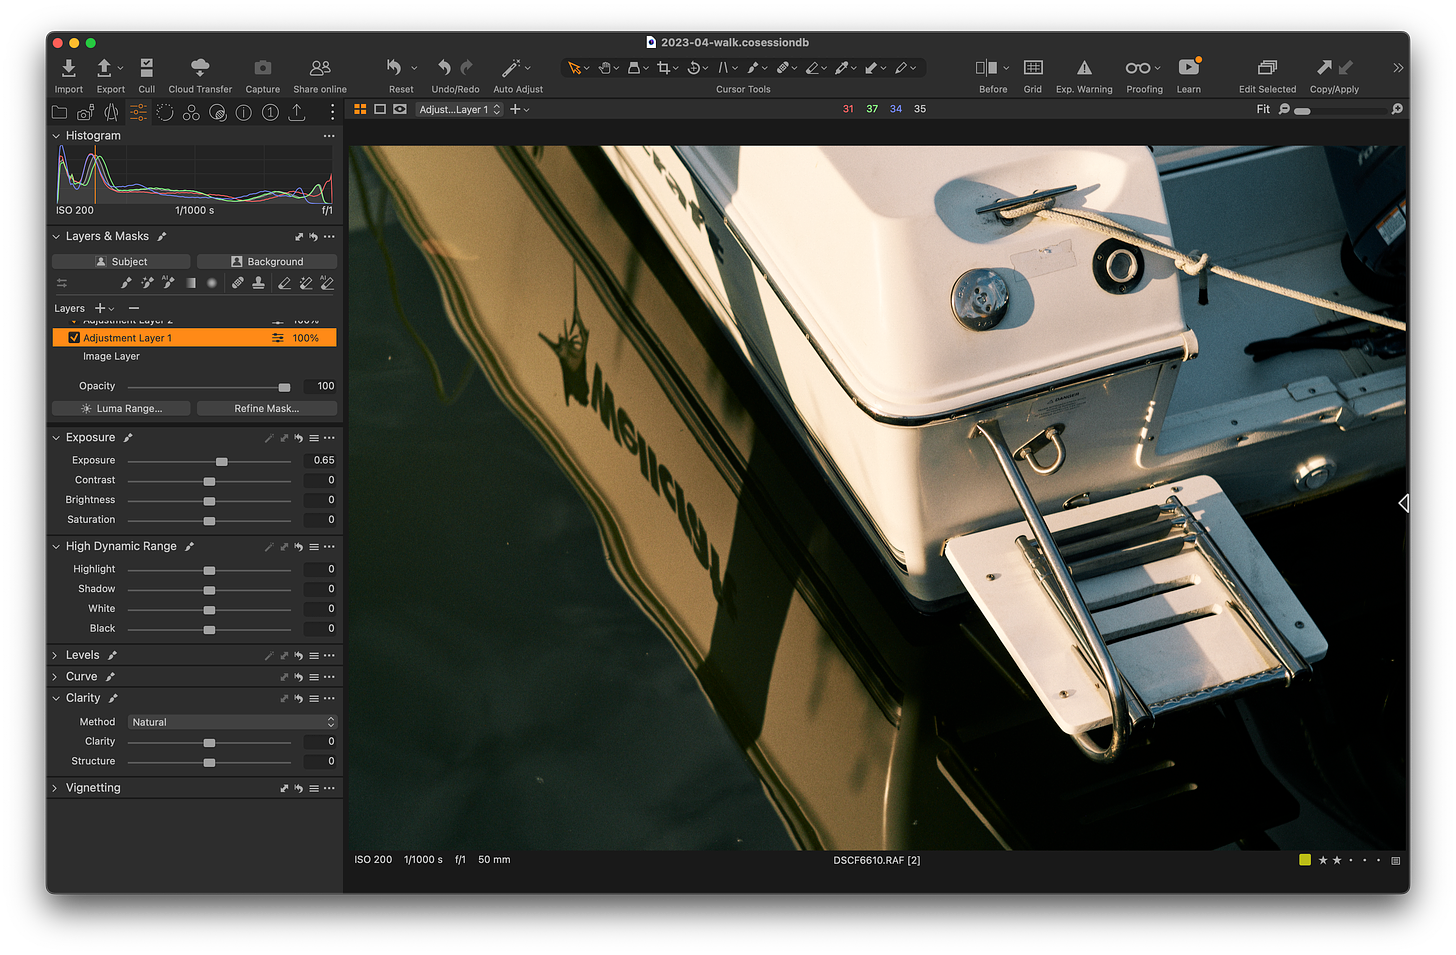
I rarely use Photoshop. Its use has become quite specialized given the capabilities of Lightroom (and other RAW processors). Here are a few thoughts on local adjustments given how much capability has been added in the last few years. Assuming most of you are probably using Lightroom (or Capture One), the first thing I wanted to discuss is how local adjustments work compared to Photoshop.
Don’t Worry Too Much
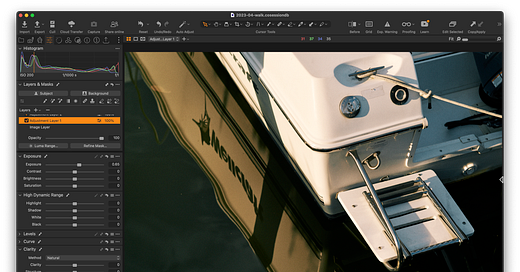
At the risk of discussing something everyone already knows, don’t worry about overlapping, contradictory adjustments. Ligtroom nets all the adjustments together when applying them to the underlying image. In other words, go ahead add four stops of exposure with one brush/gradient/etc and subtract four stops with another. Where these masks overlap they net out to zero with absolutely no ill-effects. This works with just about any adjustment you can do. Try it yourself. Add a filled mask and push all the basic, structure, texture, dehaze, and saturation sliders to full blast. Add another and slide them all the opposite way. Identical image with no artifacts and no difference whatsoever.
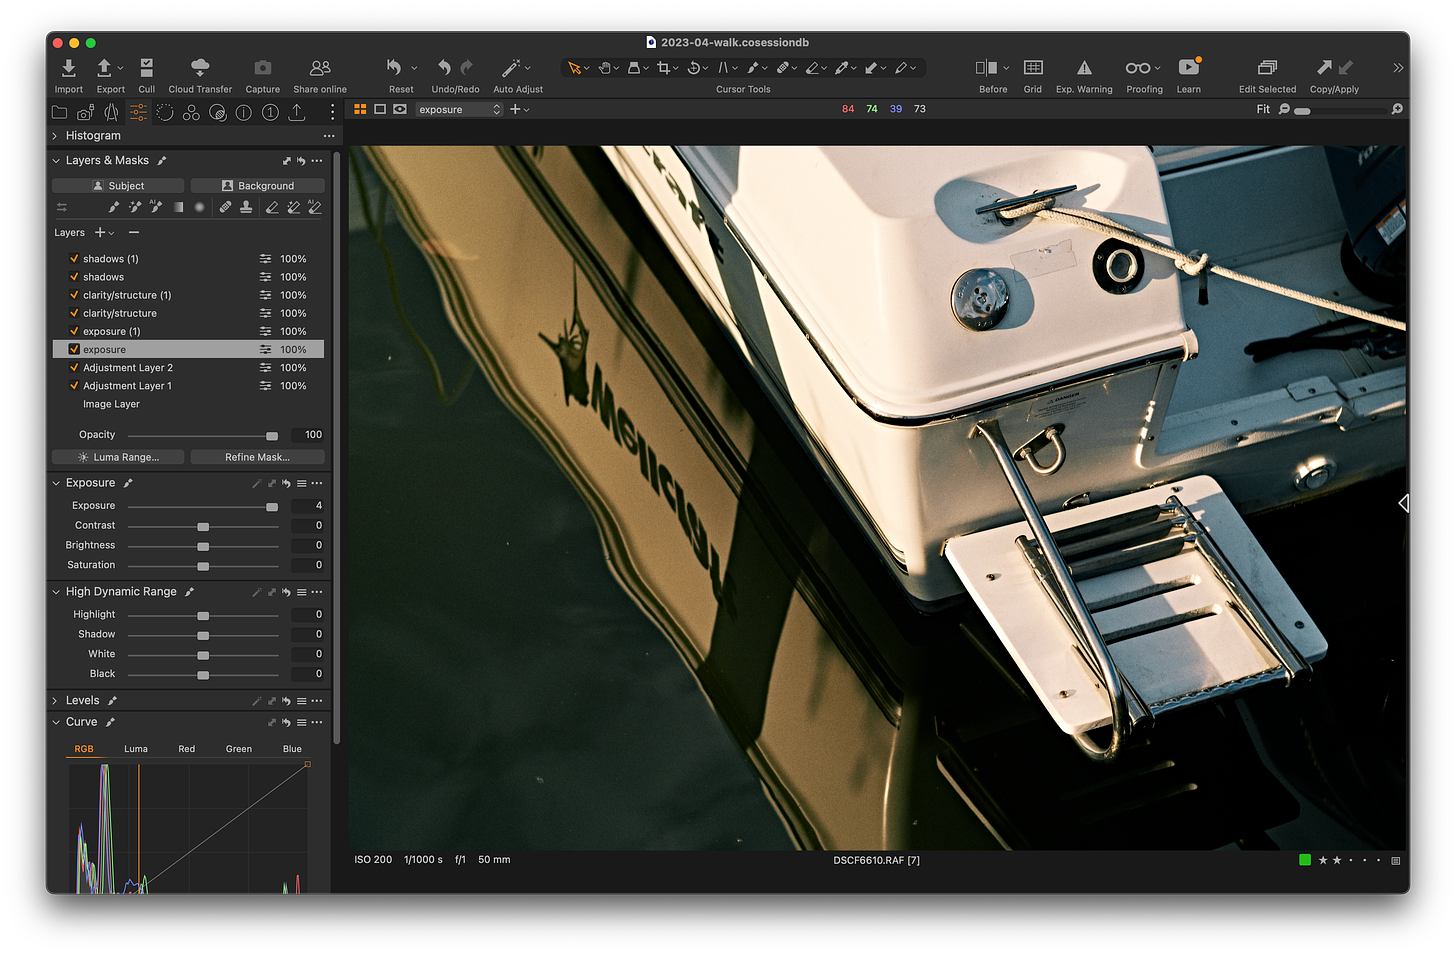
This is very different than the way Photoshop works. Sure if you know Photoshop blending modes and other esoteric techniques you can kind of do the same thing but it’s really tricky and not nearly as flexible. As an example if you do the same thing with a default exposure adjustment layer in Photoshop then reverse it with another you’ll end up with a solid black or a white image. To make that work the way Lightroom does with local exposure adjustments you’ll need to use soft light blending mode but that’s not universal. It’s easy to introduce all kinds of horrors with Photoshop local adjustment layers.
Big And Sloppy Vs. Tiny And Precise
A lot of the newer features introduced in the last few years are focused on making precise selections quick and easy. I beg you to use these with restraint. I am not poo-poo-ing these as useless. Go ahead and fool around with all of them to see how they work, their limitations, learn their subtleties. After learning all about them, treat them as specialized tools.
Big And Sloppy usually looks more natural than overly precise selections. Sloppy meaning extremely soft edged brushes or gradients with a lot of fall-off. Even if the selection is perfect, super precise adjustments tend to look very artificial. If you must be super precise the effect should be subtle, even then they tend to look fake. This has always been true even when it was hard to make super precise selections.
A giant soft brush or linear gradient with gradual falloff will do the trick most of the time. If for some reason that’s not working don’t immediately jump to object selection tools. Try a bunch of super sloppy overlapping gradients with lower intensity instead or adjust the flow of your brush. Think of object and background selection as the last resort. You’ll thank me when you look back after a few months…
Global Adjustments Vs. Local Adjustments
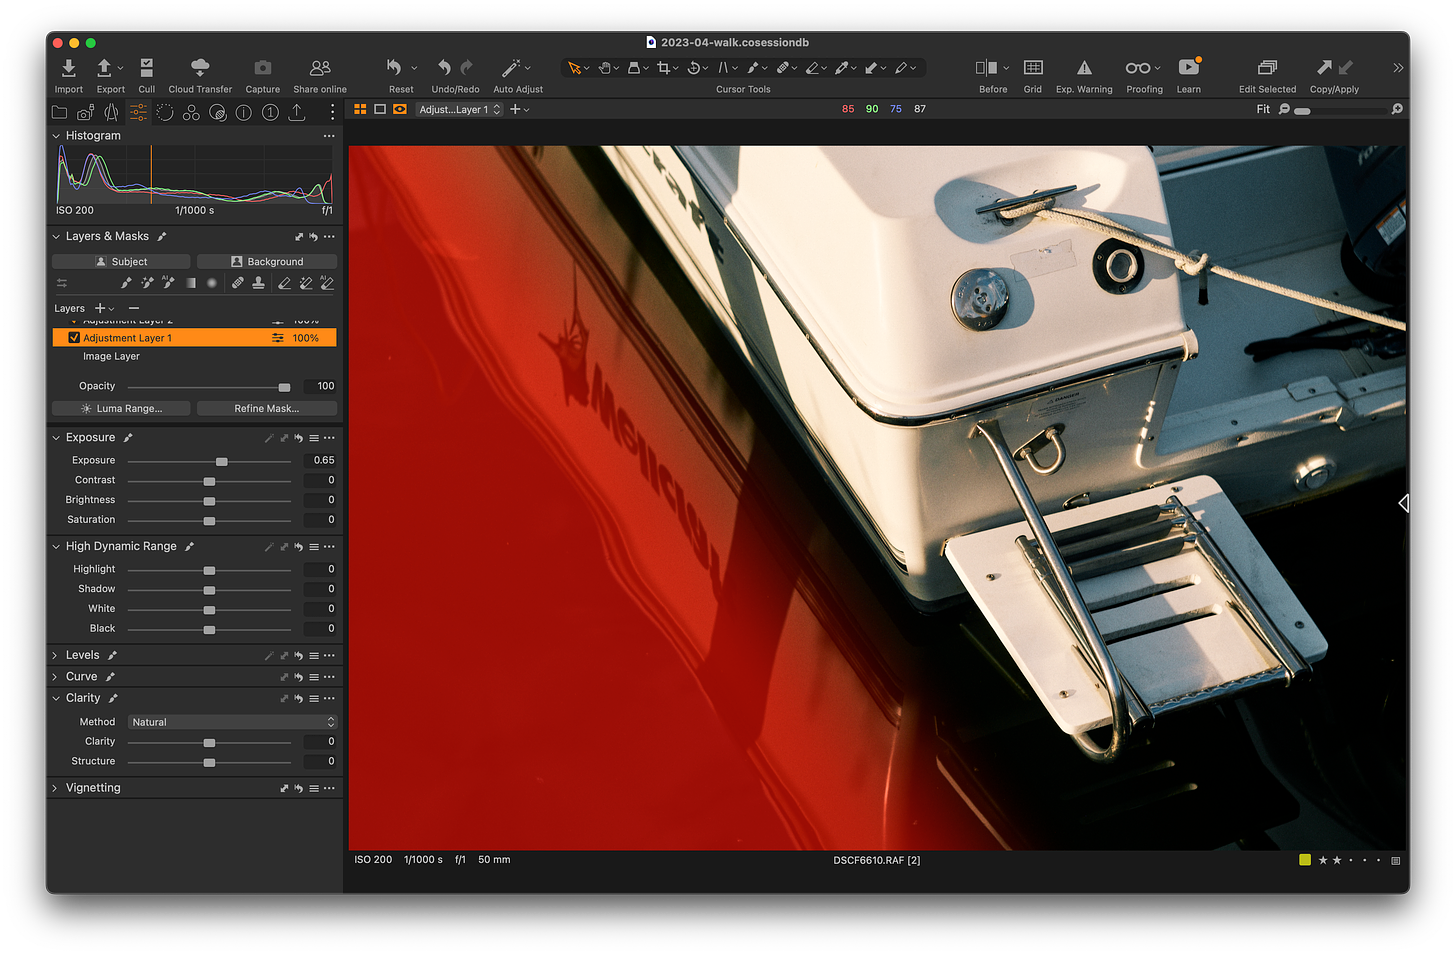
In many cases one or two five second big, sloppy local adjustments are far more appropriate than extreme global adjustments. I see this all the time in our workshops where either the shadow or highlight global shadows are pushed too hard when a big sloppy brush with positive or negative exposure would suit the image far better.
Shadows are not a bad thing, they are a compositional control just like framing. Think of shadows as frames within frames. Most pictures are better when you think through where you want viewers to look rather than a one-size-fits-all approach to detail and contrast within shadows.
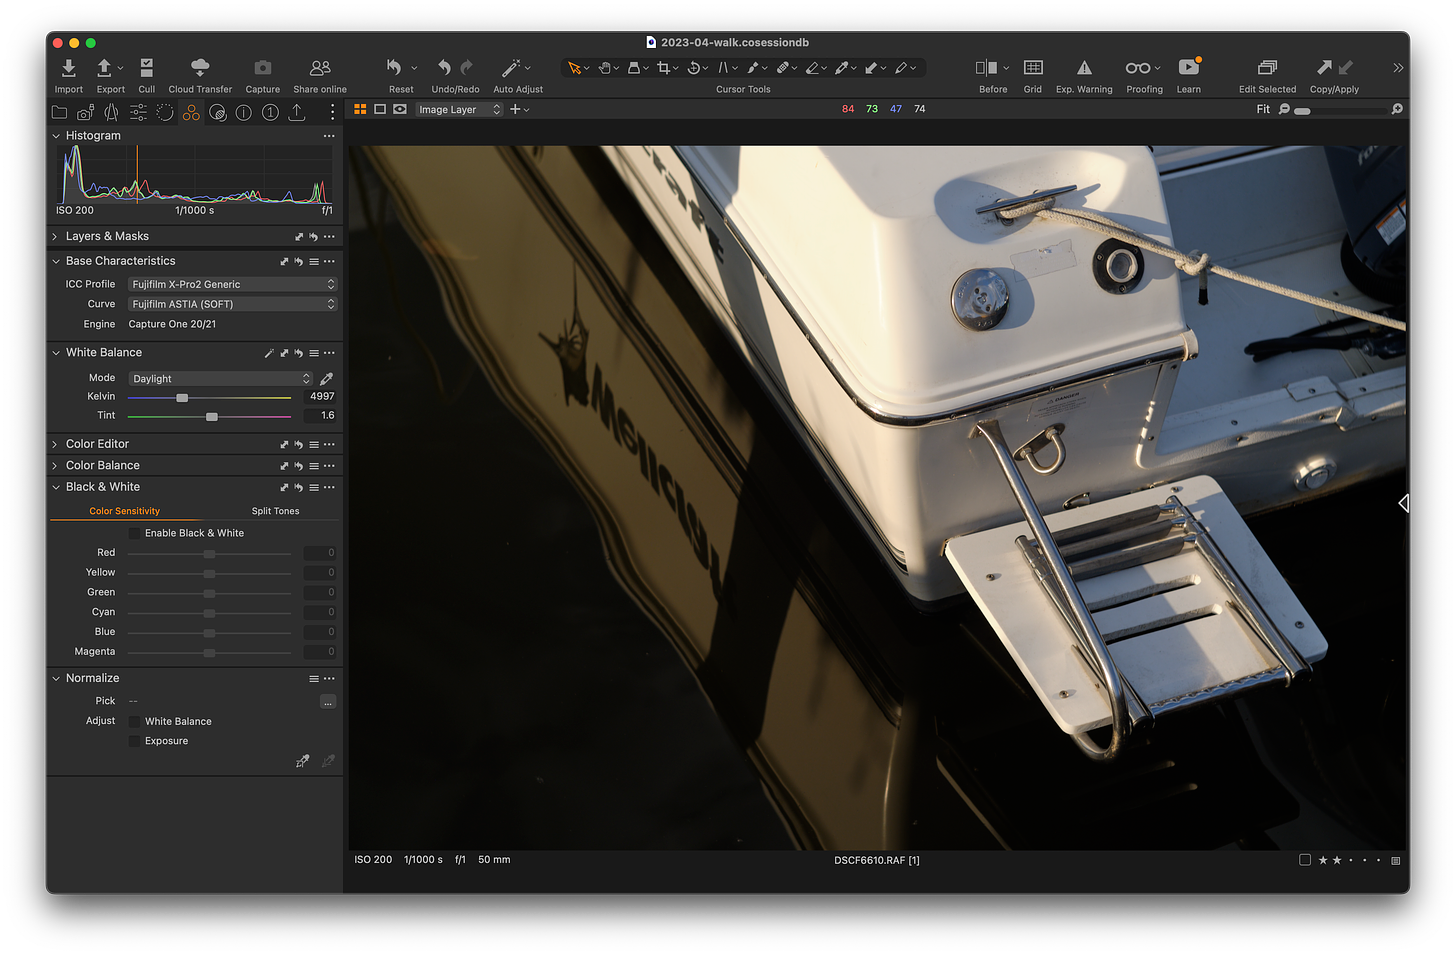
Certain non-specific terms like “muddy” get thrown around a lot. Deep shadows in and of themselves are not “muddy” as in “I think that shadow area is too muddy”. What? What does that mean? Does it mean there’s important stuff in that dark area that needs to be seen? Typically this without any sort of contextual disccusion means something more like “the rules say all shadows need to be fully illuminated”, which is rediculous in most cases and don’t make the photograph “better”.
What I am saying is that micro-analysing can quickly turn into irrelevant intellectual exercises what possibily can be done with the tools available. A far better discussion and thought process is more along the lines of “what are in those shadows that anyone cares about”. Supression of details is a compositional decision not a technical capabiliy decision.


Bob, I will never forget an experience in one of your workshops. I had a photo that was full of an amazing exploding sky with a bit of a mountain bald at the bottom. I had carefully brought out the shadow detail in the grass that should have remained in shadow. You asked me what the photo was about. The sky I said. Then why are you messing with this grass you said. Shadows are there for a reason and I never print without asking myself, what is this image about? Thank you.
I use photoshop for two purposes with my photos. Heal/clone to clean up small issues, such as dust on the sensor or small blemishes in the details. And i use it for curve adjustments. Photoshop curves are more powerful and precise than Lightroom's IMO. I find that a thoughtful curve adjustment usually gives me the all the contrast/shadow fine tuning I need.