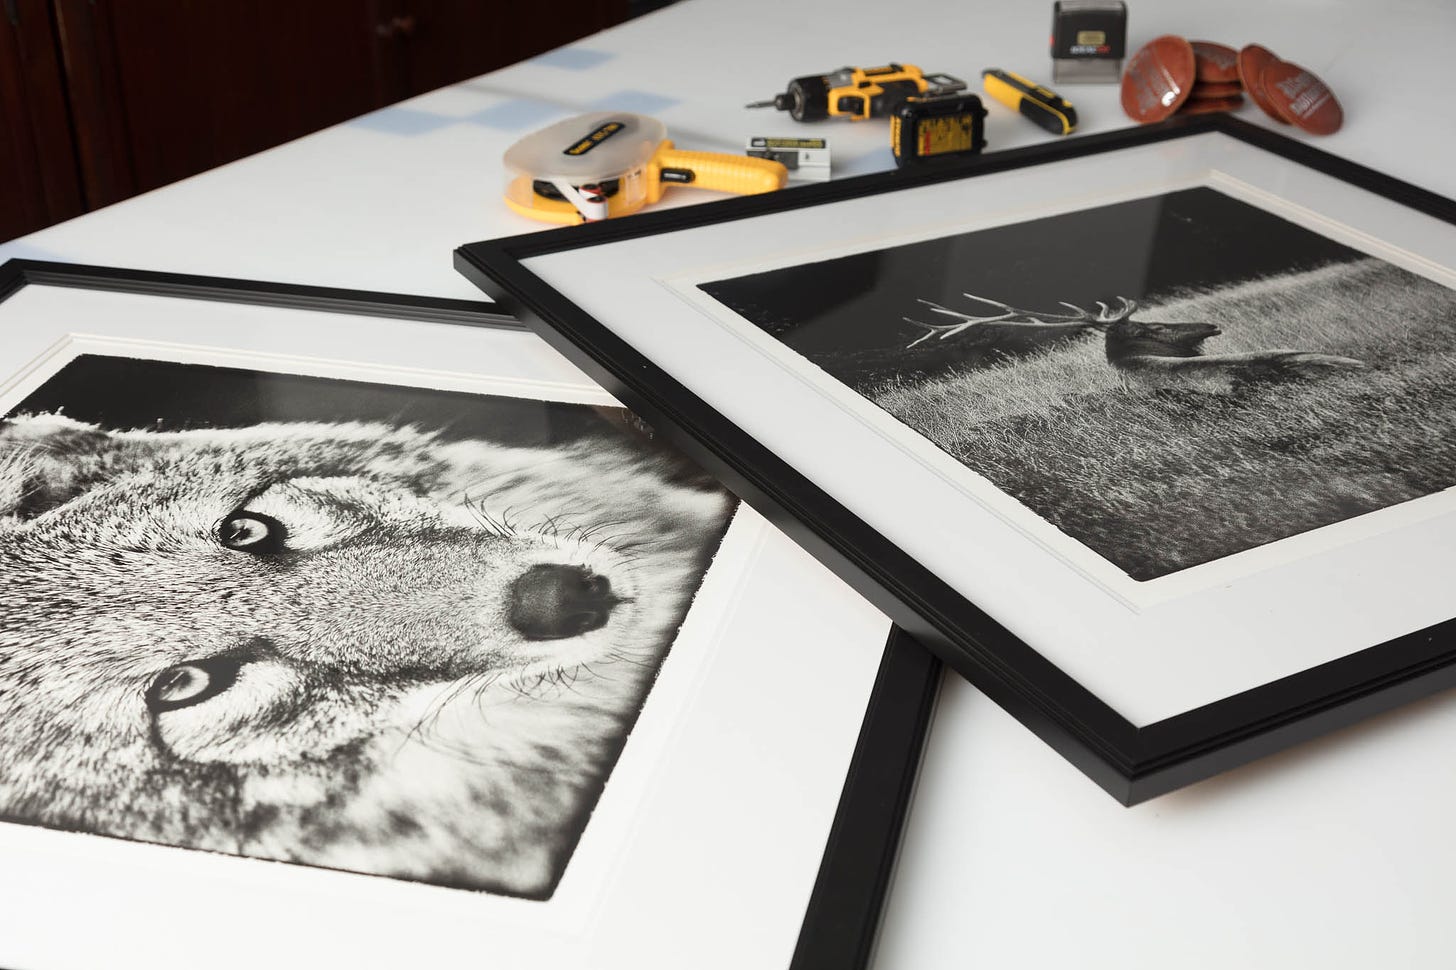
In our last Substack newsletter, Bob addressed the thorny issue of outsourcing aspects of a photographer's workflow. I like to think that here in our studio we don't outsource very much, but as I think about that a case can be made that we do outsource.
We do all our own photography, post-processing, paper and canvas printing, frame-making, mat cutting, spraying, and even glazing (I'll get to that in a moment). But, we do outsource the rare instances where we have a client who insists on aluminum prints and in the more frequent instances where face-mounted Plexiglas is needed. Also, our portfolio boxes are outsourced and hand-made in the United States.
Glazing Safety
One of the commentators to Bob's newsletter on outsourcing refers to bringing glazing in-house. That's another thorny issue I'd like to briefly address here. For those of you who are paying members, I do plan to do a detailed future DIY on glazing.
There are two major concerns here for photographers who do fine art printing. The first is safety. Does it really pay to cut your own glass?
With proper instruction and careful attention to safety - and I do mean careful - you can become proficient at cutting your own glass for a traditionally framed print. But, I have yet to see anyone gain that proficiency without lots of broken glass in the trash and no doubt a depleted stock of Band-aids. Glazing does take practice, aside from the correct tools (cut-proof gloves, eye protection, etc.), a good amount of working space, and patience.
Of course nowadays there are two glazing options; glass and Plexiglas. Each requires its own technique (which I'll address in detail in the DIY). Either of these options has benefits and drawbacks, so the glazing decision-making begins before blade touches glass.
To Glaze or Not...
There is a larger concern, however, one that we've wrestled with for years here in our studio. Bob and I have worked together for more than 15 years. We love printing and we love some of the wonderful papers that are available today.
As we worked with the gorgeous papers from our sponsors, Moab and Awagami, we began to question the need for glazing at all. We feel that with certain papers, the paper itself adds depth and character to the image printed on it. Once you put those characteristics behind glass, you risk minimizing its effect.
Moab, for example, recently released a cold press textured paper that is simply beautiful. With the right image printed on it, the paper's texture complements the image and adds an artistic dimension that allows it to stand out. Initially, we used wide borders with this paper to accentuate its graphic contribution, and then glazed the frame. But we soon realized that the glazing took away from the overall artistic effect. Now we tend to open frame those prints.
The same is true for the Awagami washi papers. Unryu, for example, with its embedded mulberry fibers, presents a unique look and feel that must be seen to appreciate. As we've written about before, it does require the "right" image to work its magic. Similarly, Awagami's hand-made Bizan, a distinctly textured paper, is in a class of its own. Why hide it behind glass?
Protection
If you allow your paper-image to shine without glass, how do you protect it? I'll give more detail in the upcoming DIY, but in short, if you are printing on matte paper, spray it with a high quality, name brand spray fixative, such as Moab's Desert Spray or an equivalent spray from PrintShield or Hahnemuhle. It will not affect the image. We spray two coats, which adds a bit of UV and fingerprint protection. Then a periodic dusting with a feather duster will keep it looking pristine.
But note that whether open-framed or behind glass, if any print is exposed to a lot of direct sunlight, it will be affected. Museum-quality glass does offer additional protection, but at a significant increase in cost.
I do not recommend spraying semi-gloss/satin or glossy prints as the sprays knock down the gloss a bit, thereby defeating your artistic intent in choosing that paper. But consider this; combining a glossy print with the added reflective characteristic of glass is a double whammy that's hard on the viewing experience.
If I can boil down the intent of this newsletter it's to experiment with open-frames and allow the paper itself to elevate your art. But, if you insist on DIY glazing, please stock up on Band-aids.


Our favorite coating is http://www.premierimagingproducts.com/eco-print-shield/ which can be hand applied or sprayed onto prints and canvas. Not only is it water based, flexible, and without VOC's, it provides some UV protection as well. It works well on matte as well as semi-gloss/satin surfaces. We've moved away from glazing except when clients demand it.
There are a couple of additional points which are worth discussing. Unlike a painting where there is typically no mat between the artwork and frame, photographs usually employ mats to provide a visual but more importantly physical offset from the frame itself. This prevents sticking, provides a mechanism for mounting, as well as some measure to ensure print flatness. When exposed directly to the environment, over time, most mats become soiled and unlike the coated print, a simple "dusting" won't alleviate the situation. Apart from obviating mats (and using other mounting methods) I would be curious to hear other users approaches to addressing the mat soiling.