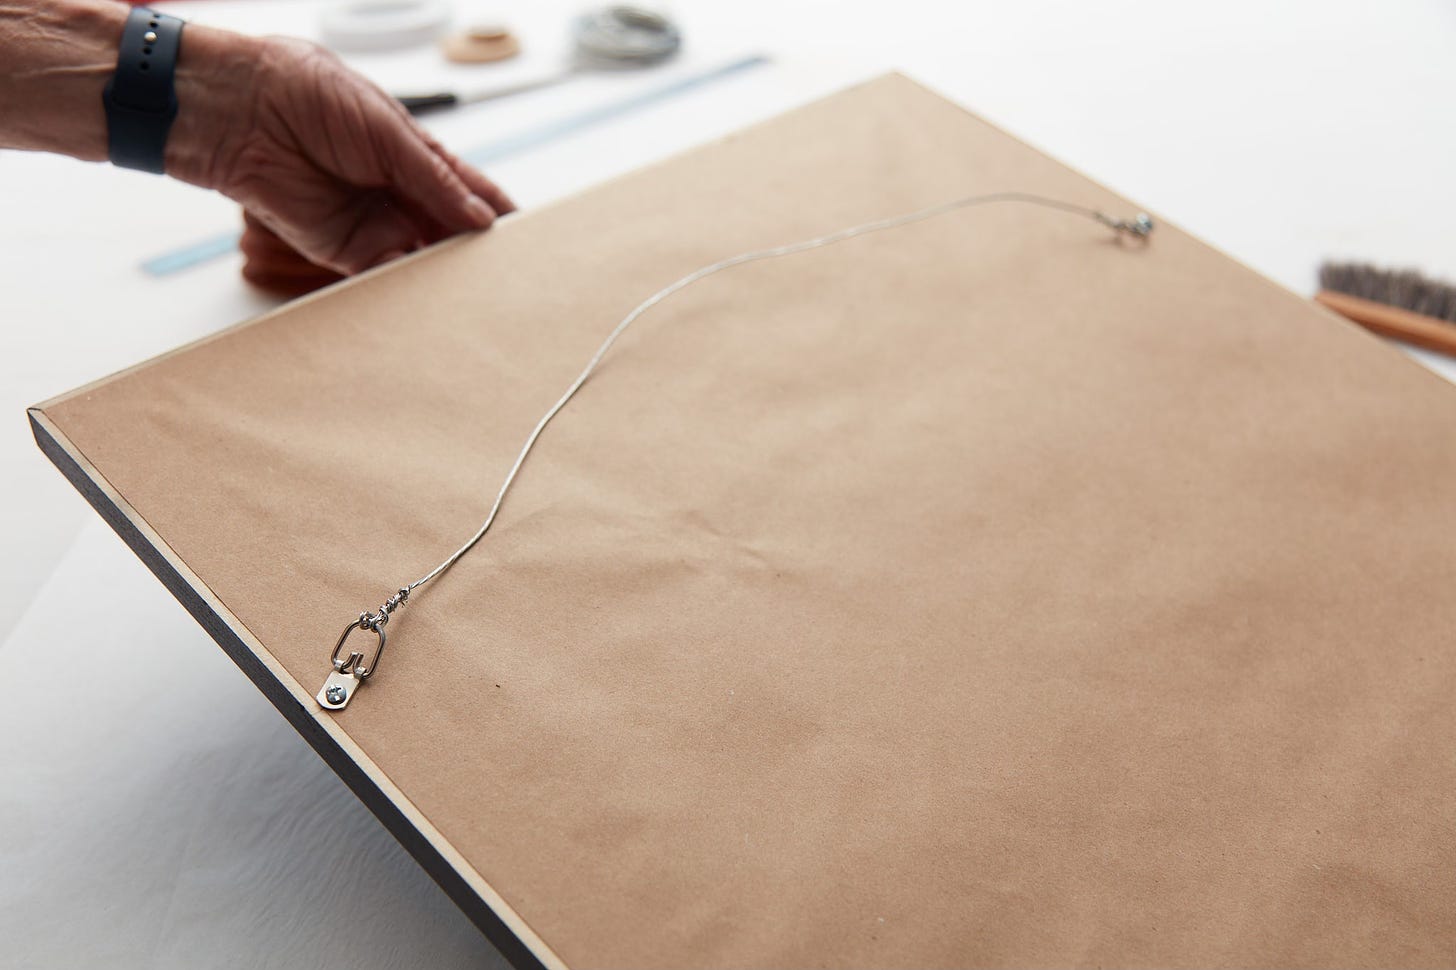
In the realm of creating your own traditional frames for your photographic art, an old truism can be applied to our niche of the art world, "It ain't over 'til the... dust cover is finished and the hanging wire affixed". In this DIY, I'll address how to effectively apply a professional dust cover to your frames.
I'll start with the assumption that you've already completed the print, mat(s), frame and glazing. But just in case you haven't made frames yourself, upcoming DIYs will cover those topics in depth.
Tools & Supplies
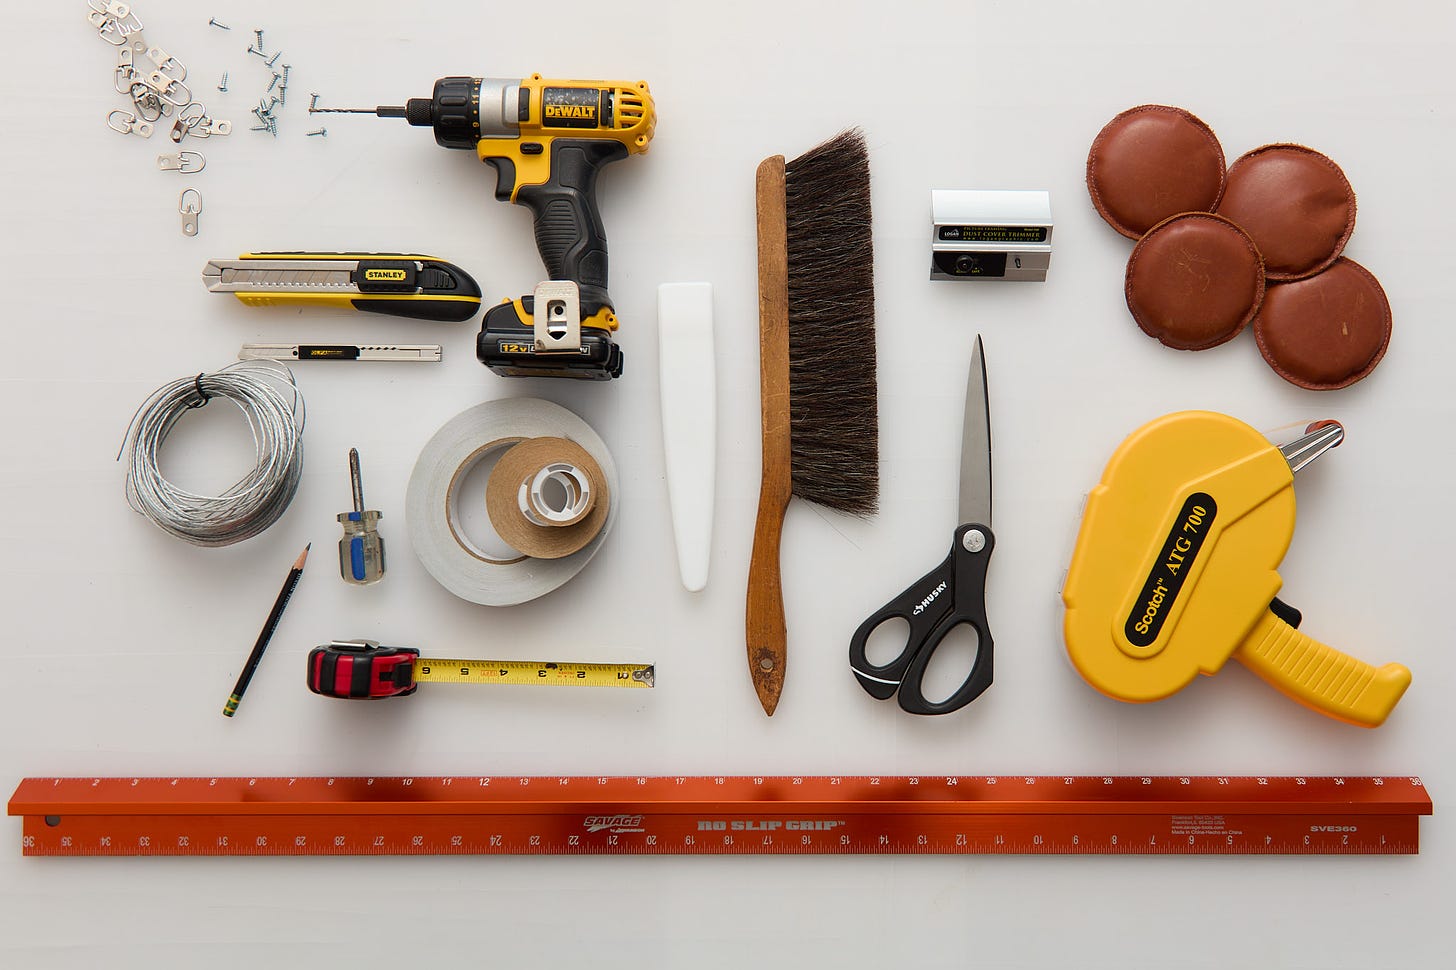
To create a dust cover and hanging wire, you'll need the following (but be sure to read the details in the description).
A sheet or roll of heavy duty paper
Tape measure
Pencil
Double-sided roll adhesive
Boning tool or hard roller
Fat Max blade
Framer's rulers
Logan dust cover trimmer
Four small weights or use DIY sock weights
Picture hanging kit
Wire cutter
Screwdriver set with bits
Drill and bit set
Drafting brush
Savage wide safety ruler
Optional: Scotch ATG 700


