Big Prints, Resolution, DPI, Etc
Merry Christmas, Happy Hanukkah, Happy Holidays, & Happy New Year!
This is the fourth regular newsletter in December, typically reserved for our paid supporters, and the last newsletter of 2024. Free to all this month in celebration of the season. A giant thank you to all of our subscriber community, especially those who help to support us financially. We’ve had the pleasure to meet so many of you in-person and hope to meet many more in 2025. While we’re certainly not the biggest photographic community out there, we do believe that our readers are amazing photographers and fantastic people as evidenced in the comment section and by meeting so many during our workshops.
Our 2025 Schedule So Far…
We’re running a bit behind solidifying dates but here’s what we’ve got so far. Feel free to shoot us a message with questions.
Intro To Fine Art Printing
Our January 18th 2025 workshop is filled but we’ve opened up another on May 5th 2025. More information and registration is on Les’ site. Don’t wait too long these one-day workshops tend to fill up quickly given they are strictly limited to 4 participants.
Advanced Awagami Printing & Display April 26 2025
We still have a couple spots open for this workshop focused on two of the most distinctive Awagami papers, Bizan and Unryu. Participants will take home two finished, mounted, ready to hang artworks. More information and registration is available over on Les’ website.
Black & White Workshop June 6, 2025
The emphasis in this hands-on learning experience will be taking a deep dive into processing your black and white photographs using Lightroom. We’ll cover creative and artistic decisions and how to translate those into great black and white photographs drawing from the tools available in Lightroom. More information and registration is available here.
Matting & Framing Workshop July 19, 2025
This two-day hands-on workshop focuses on traditional matting, mounting, and framing. You’ll learn how to display your own work with expert guidance every step of the way and take home your own finished work (we’ll print it for you prior to arrival). Registration and additional information.
Portfolio Development Workshop November 14, 2025
Our favorite workshop to host. This intense 3-day workshop is the culmination of weeks of work that we start with each participant a few months prior to arrival. Editorial work is very hard but the most rewarding. We just learned TODAY that one of the participants in our 2024 edition of this workshop landed his first exhibition in Rochester, NY using the portfolio we helped him develop. More on that later. More information and registration is here.
And Now For Today’s Newsletter Topic…
I wanted to share the answer to a question that comes up a lot in our Intro to Fine Art Printing workshops. “How much resolution/DPI do I need to make such-and-such sized print?” As with most things, the answer is… Um, it depends.. Before getting into what it depends on let me provide a brief list of what our baseline recommendations are. Warning: these might be controversial to some of you but don’t get upset quite yet.
Don’t bother upsizing or downsizing via Lightroom’s option in the Print Module. That 240 dpi default is arbitrary and outdated. Give the printer all the pixels you have, assuming your printer is of this decade (meaning less than ten years old)
Don’t go berserk with the specialized print/output sharpening you may have done a decade or more ago. That print sharpening function in the LR Print Module is perfectly fine, figure out what flavor you like (low, std, high) fits your taste and be happy, it takes into account all the things those specialized workflows of old do like actual resolution, print size, etc. The only time I start to worry about manual intervention is if I am below 100 dpi on the output. Then I might think about it but that’s dependent on the next item…
What about up-sizing, up-resing, etc. Bottom line, adding more pixels via the latest-greatest tech available? Yes, there are occasions where the viewing distance and lack of resolution will kill a print but you’d be surprised at how little that becomes an issue. The last time I used super-special software (or any software) to up-size a picture was when printing a 12 megapixel file at 9 feet wide. I’ll do the math for you… that would be 39 dpi. That’s rough, no arguing that. The key was the image was sharp, super sharp from foreground to background via a tilt/shift 24mm lens. I upsized it but not to 240 or 300 or any magic number but 150 dpi and printed it on a non-glossy, textured material. Looked fabulous given it’s hard to get more real resolution from a textured matte surface beyond that. The key is to get rid of the digital artifacts, those look like garbage and horrific and they are extremely clear at 39 dpi. I don’t even remember a monitor that low in resolution, maybe the first PC CGI monitor? You can do that math. Yep, de-digitizing those artifacts is the most important thing.
If unsure, do a small test sample at the expected output resolution and decide. We do that if we’re unsure and the material we are using will be expensive if we are wrong.
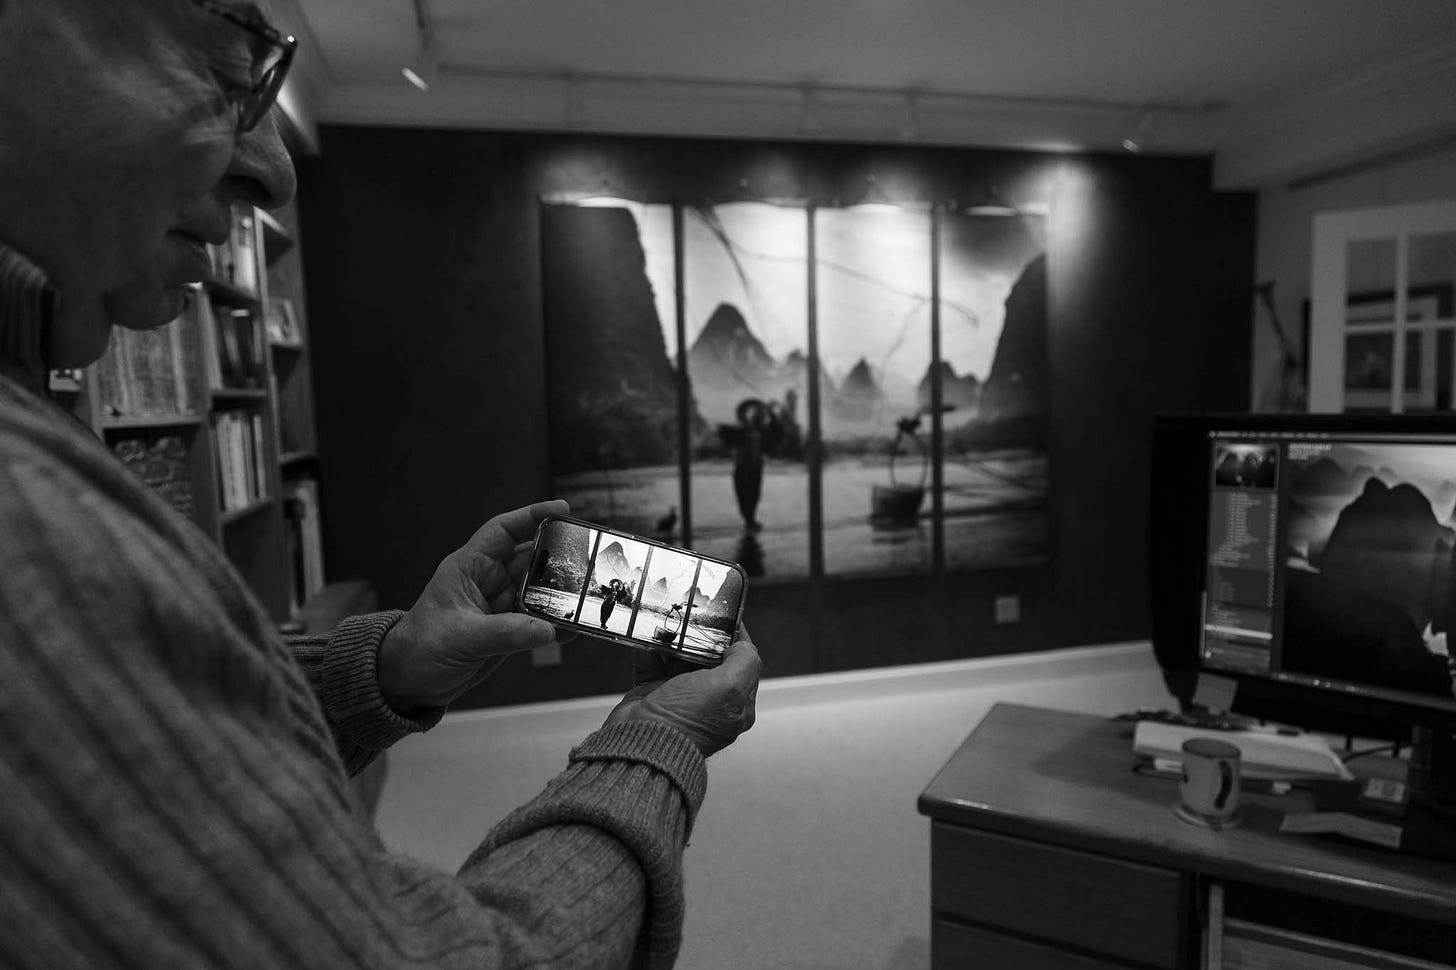
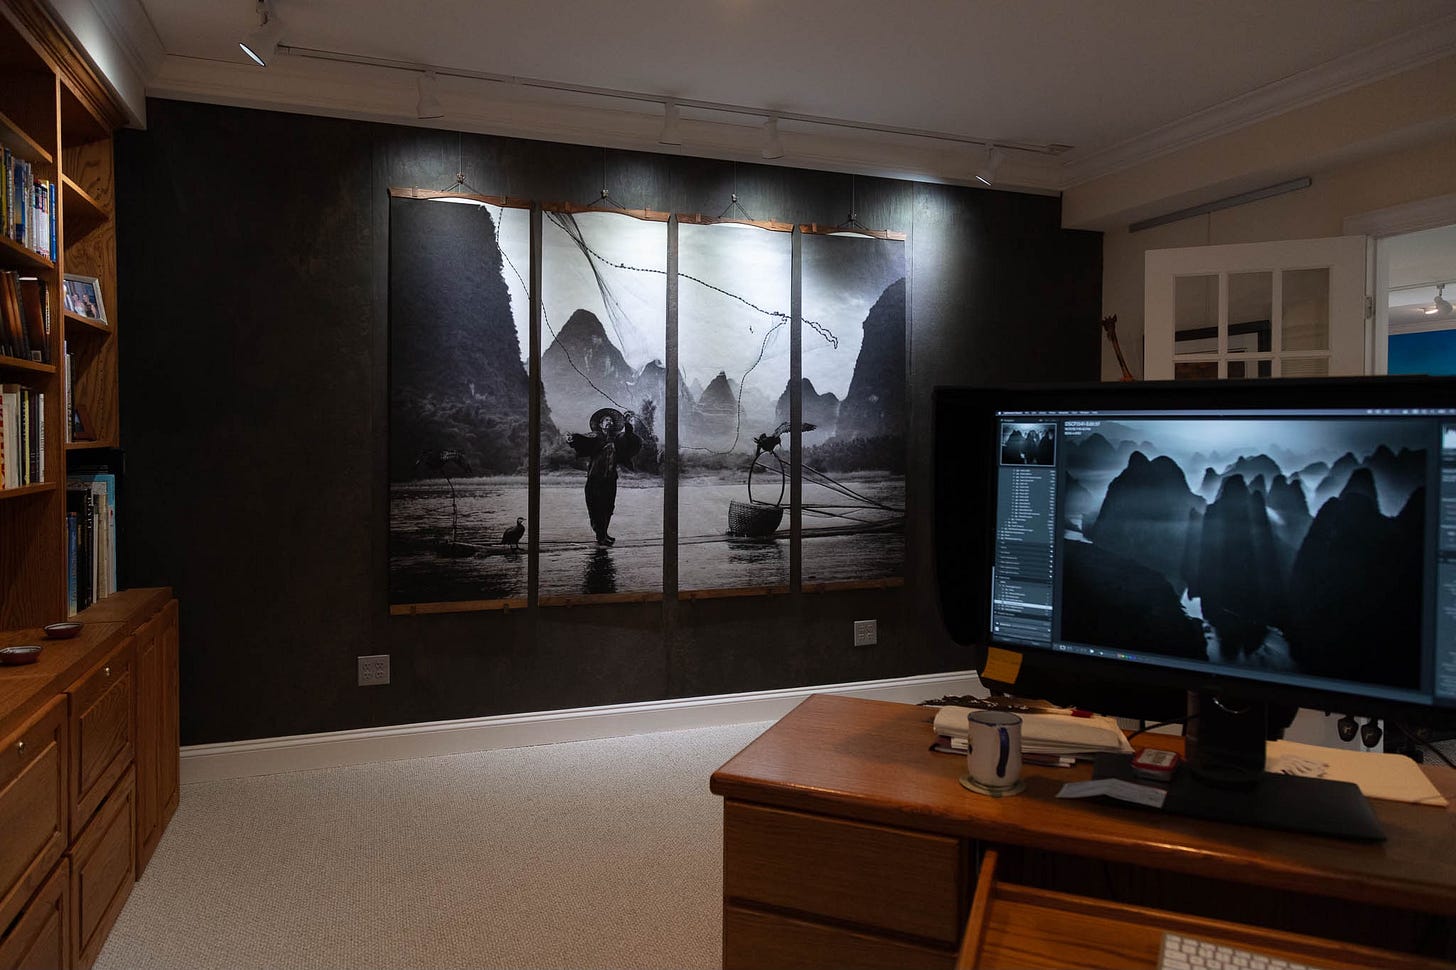
That brings us to the photo at the top of the newsletter, a quick snapshot of our latest rotation of artwork on a wall of the office section of the studio. Way more on that print and associated project from Les soon. It looks absolutely jaw-dropping in person. The first couple of people that saw it hung took iPhone shots of it as inspiration.

Both Les and I accidentally lied when asked “what camera did you make that with”, we incorrectly attested that it was the Fuji GFX 100. We were wrong but only because neither of us actually looked and it was made around the time Les acquired that camera. The truth is Les made this image with the GFX 50s, a camera with half the megapixels. The underlying point is who cares, it could have been made with many cameras. Very little of this image is critically sharp as the plane of focus is very narrow. It was shot with a 120mm macro lens at f/5.6. What is in focus is very, very sharp as that lens is fantastically good.
What resolution, what is the DPI, how big??? The size of the print is 63in high and 84in wide. I’ll do the math for you, that gives us 98 dpi on the wall. No upsize, printed on Awagami Unryu thin. Of course we proofed a small section before committing but we saw no issues so we didn’t blindly target some arbitrary number. I would have worried if the print was significantly below 100 dpi or I was printing on a material that was super smooth and super glossy meant to display fine detail as technically well as can be done… monitors do that, most fine-art papers do not.
Stay tuned as I will follow up with a more comprehensive assessment of the most ubiquitous up-sizing tools, when I’d use them, and how. In the meantime the old adage of spend your money on great glass rather than resolution of the camera continues to apply. What’s more is that given the new widely available software this is more true than EVER. There might even be a case to worry more about noise than capture resolution given the same optic quality. Realize this is coming from someone that is totally fine printing some degree of visible noise and even adds some depending on the actual photograph and its context.


Swap out the outlets and covers for black.
What are you using for the wooden clamps/clips? holding the prints at the top and bottom?